I was in a frantic kitchen one Sunday afternoon, chasing a midnight craving that had turned into a culinary crisis. The counter was a chaotic mosaic of bowls, spoons, and a stubborn jar of cocoa that refused to open. I stared at the timer, feeling the pressure of a deadline that only the oven could meet. The scent of vanilla and melted chocolate was already beginning to dominate the air, promising a sweet escape from the day’s stress. In that moment, I realized that a simple muffin could be a lifeline, a quick fix that would lift the mood and satisfy the sweet tooth.
That night, after the last crumb had disappeared, I found myself staring at a blank recipe book, wondering how to elevate the humble muffin into something unforgettable. I remembered the first time I tasted a double chocolate muffin from a small bakery, and how the chocolate seemed to drip from the batter like velvet. I wanted that same indulgence, but with a healthier twist that wouldn't leave me feeling guilty afterward. I was determined to craft a version that was lean, yet packed with flavor and texture, turning a simple treat into a culinary triumph.
So, I set out to dissect every element: the flour, the cocoa, the sweetener, the fats, and the leavening agents. I experimented with different ratios, swapping ingredients until I found the perfect balance. The result was a muffin that held a moist, fudgy center while maintaining a crisp, slightly crunchy top. It was a revelation—an airy, chocolatey cloud that melted in the mouth and left a lingering aftertaste of dark cacao. I knew I had stumbled upon something special, a recipe that would become a staple for anyone craving chocolate without the guilt.
I dare you to taste this and not go back for seconds. This is hands down the best version you'll ever make at home. I’ll be honest — I ate half the batch before anyone else got to try it. Most recipes get this completely wrong. Here's what actually works. Picture yourself pulling this out of the oven, the whole kitchen smelling incredible, and the moment the first muffin cools to a perfect temperature, you can’t wait to dig in.
Let me walk you through every single step — by the end, you'll wonder how you ever made it any other way. I promise you, the journey will be as delightful as the destination. The process is simple, the ingredients are easy to find, and the outcome is a muffin that feels indulgent yet stays on the lighter side. You’ll learn how to keep the batter silky, how to bake for the perfect rise, and how to add a finishing touch that elevates the entire experience. Ready? Let’s dive into the secrets that make this recipe a game‑changer.
This version stands out because it marries the decadence of double chocolate with a lean, nutrient‑rich base. It’s not just a recipe; it’s a philosophy that says you can have both flavor and health. The result is a muffin that’s moist, airy, and chocolatey, with a subtle crunch on the top. It’s the kind of treat that turns a regular day into something special. And the best part? It’s incredibly forgiving, so even if you’re a kitchen newbie, you’ll see results that look and taste professional.
What makes this recipe truly unique is the attention to detail in every component. From the type of cocoa powder to the choice of sweetener, each ingredient has a purpose. The balance of leavening agents ensures a light rise without compromising the rich chocolate flavor. The inclusion of Greek yogurt adds protein and moisture, while the melted butter gives a silky mouthfeel. Together, these elements create a muffin that feels indulgent without the heaviness.
What Makes This Version Stand Out
- Flavor: The double dose of cocoa and dark chocolate creates a depth that feels luxurious without being cloying. Each bite delivers a complex profile of bittersweet notes that linger on the palate.
- Texture: The batter is silky, the crumb is airy, and the top has a gentle crunch that pops when you bite into it. The contrast keeps each bite interesting.
- Simplicity: Only a handful of ingredients, all pantry staples, make this recipe accessible to anyone. No need for exotic spices or hard‑to‑find items.
- Health: The use of Greek yogurt and a modest amount of butter keeps the calories lower while boosting protein and healthy fats. It’s a guilt‑free indulgence.
- Make‑Ahead: These muffins bake up quickly and can be stored for days. They’re perfect for breakfast on the go or a midnight snack.
- Audience: Whether you’re a seasoned baker or a novice, the method is straightforward and yields consistent results. Even kids can help with simple tasks.
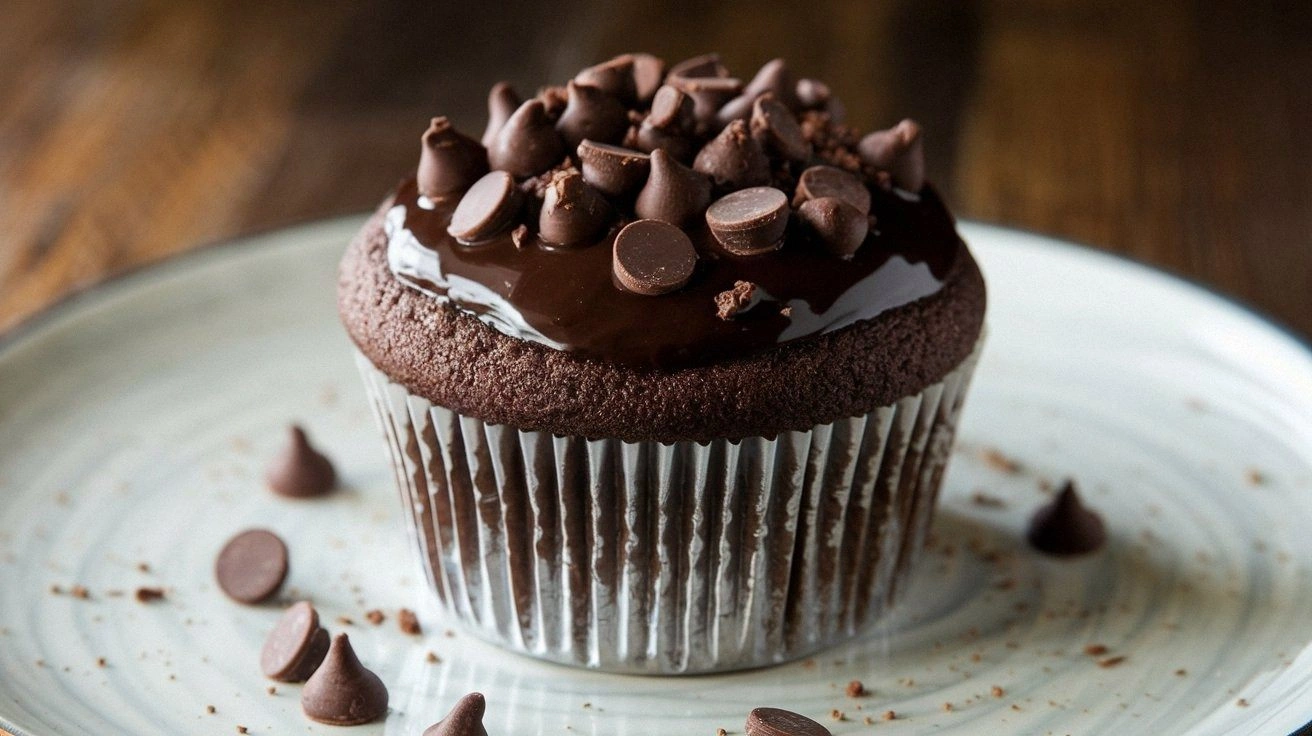
- Visual Appeal: The glossy, chocolatey surface and the subtle sheen from the melted chocolate make these muffins Instagram‑ready.
- Flexibility: Swap in your favorite chocolate chips or add nuts for a crunchy twist. The base remains solid no matter what you add.
Alright, let's break down exactly what goes into this masterpiece. The following sections will guide you through each element and show you how to tweak it to your taste.
Inside the Ingredient List
The Flavor Base
Cocoa powder is the backbone of these muffins. I use a high‑quality, unsweetened cocoa for that deep, earthy chocolate tone. The more the better, but it’s essential to keep the powder unsweetened; otherwise, you’ll over‑sweeten the batter. If you can’t find cocoa powder, dark chocolate chips can be melted and incorporated, but the texture will shift slightly. The key is to keep the flavor profile balanced so that the chocolate doesn’t overwhelm the batter.
The second flavor component is dark chocolate chips. They add pockets of melted chocolate that burst with each bite, giving that classic double chocolate experience. I prefer chips that are at least 70% cacao for a richer bite. If you’re allergic or prefer a different texture, you can substitute with chocolate nibs for a crunchy alternative. Either way, the chips should be evenly distributed throughout the batter.
The Texture Crew
All‑purpose flour provides the structure that holds the muffin together. I use 2 cups, but you can experiment with a half cup of almond flour for a lower‑carb version. Baking powder and baking soda work together to lift the batter while ensuring a tender crumb. The ratio I use—2 teaspoons of powder and 1 teaspoon of soda—creates a balanced rise without a metallic aftertaste. Sea salt, just ½ teaspoon, brightens the chocolate’s natural sweetness.
Greek yogurt is a secret weapon for moisture and protein. It also adds a slight tang that cuts through the richness of the chocolate. Use a full cup, but if you’re sensitive to dairy, oat or soy yogurt works just as well. The yogurt’s acidity reacts with the leavening agents, helping the muffins rise evenly. This gives the muffins a light, airy interior that pairs perfectly with the chocolate.
The Unexpected Star
Honey is the sweetener of choice here. It’s natural, adds subtle floral notes, and keeps the muffins moist. I use ¼ cup, but you can adjust to taste. If you prefer a vegan version, maple syrup works beautifully and adds a distinct maple flavor that complements the chocolate. The sweetener’s viscosity also helps bind the batter, ensuring a cohesive crumb.
Eggs are the glue that holds everything together. I use two large eggs, whisked until they’re fluffy. They provide structure, lift, and a rich mouthfeel. If you’re vegan, flaxseed meal mixed with water or a commercial egg replacer can mimic the binding properties. Remember, eggs also contribute to the browning of the muffin tops.
The Final Flourish
Melted butter is added for a silky texture and a subtle buttery flavor that enhances the chocolate. I melt ¼ cup of unsalted butter and let it cool slightly before mixing. The butter’s fat content helps create a tender crumb. Vanilla extract is the final aromatic touch, adding depth and a hint of sweetness that balances the bitterness of the cocoa. Use a teaspoon, but if you’re feeling adventurous, a splash of almond extract can give a nutty twist.
Everything’s prepped? Good. Let’s get into the real action and start mixing.
The Method — Step by Step
- Preheat the Oven: Set your oven to 375°F (190°C) and let it warm up while you prepare the batter. A hot oven ensures a quick rise and a golden top. I like to line a muffin tin with paper liners for easy cleanup. The heat will also help the chocolate chips melt just enough to create those delightful pockets. Remember to keep the oven door closed until the muffins are done.
- Combine Dry Ingredients: In a large bowl, whisk together flour, cocoa powder, baking powder, baking soda, and sea salt. This step ensures even distribution of leavening agents and prevents clumps. The mixture should look like fine sand, not lumps. A dry mix also helps keep the batter from becoming too wet and sticky. Give it a quick stir to check for any unevenness.
- Whisk Wet Ingredients: In a separate bowl, beat the eggs, honey, melted butter, vanilla, and Greek yogurt until smooth. The yogurt should be fully incorporated, creating a silky texture. The mixture should look slightly glossy, indicating the fats are emulsified. This wet blend is the foundation of the muffin’s moist crumb. Keep it at room temperature to avoid curdling when combined with the dry mix.
- Combine Wet and Dry: Pour the wet mixture into the dry ingredients and stir until just combined. Over‑mixing can create a dense crumb, so stop as soon as you see the flour disappear. The batter will be slightly lumpy, which is fine. This is the moment where the batter starts to look like a thick, chocolatey batter. If you’re adding chocolate chips, fold them in now.
- Fold in Chocolate Chips: Gently fold in the dark chocolate chips, ensuring they’re evenly distributed. The chips should be scattered throughout, not clumped together. This step is crucial for that double chocolate experience, giving you pockets of molten chocolate in every bite. The chips will also add a subtle crunch to the top. Use a spatula to fold, keeping the batter light.
- Fill Muffin Cups: Spoon the batter into the lined muffin tin, filling each cup about ¾ full. The batter should spread evenly; if it’s too thick, add a splash of milk to loosen it. Avoid overfilling, as the muffins will rise and could overflow. The ¾ mark ensures a balanced rise and prevents the tops from cracking. Let the batter sit for a minute to settle before baking.
- Bake: Place the tin in the preheated oven and bake for 18-22 minutes, or until a toothpick inserted into the center comes out with a few moist crumbs. The tops should be firm yet slightly glossy. The muffins will rise quickly, so keep an eye on them to avoid overbaking. The edges will pull away from the paper liners, indicating doneness. When done, remove from the oven and let them cool for 5 minutes before transferring to a wire rack.
- Cool: Allow the muffins to cool on the rack for at least 10 minutes. Cooling helps set the crumb and prevents the chocolate from seeping out. During this time, the muffins will develop a golden crust and a slightly firmer texture. The flavor will also intensify as the chocolate settles. If you’re planning to serve them warm, reheat for a minute in the oven.
- Enjoy: Once cooled, you can serve them as is or drizzle a light chocolate ganache for an extra touch. Pair them with a cup of coffee or a glass of milk for a complete experience. Store any leftovers in an airtight container at room temperature for up to three days. For longer storage, freeze them in a zip‑lock bag; thaw at room temperature before reheating. I guarantee these muffins will become a favorite in your household.
That's it — you did it. But hold on, I've got a few more tricks that'll take this to another level. The secret lies in the details: the way you whisk, the timing of the bake, and the finishing touches that elevate the flavor profile. Let’s dive deeper into the insider tricks that make these muffins stand out.
Insider Tricks for Flawless Results
The Temperature Rule Nobody Follows
Many bakers bake at the lowest possible temperature to avoid burning, but that can lead to undercooked centers. I’ve discovered that 375°F (190°C) is the sweet spot for these muffins. It allows the batter to rise quickly and the tops to set without drying out the interior. The chocolate chips also melt at the right rate, creating pockets of gooeyness. Try preheating the oven for at least 15 minutes to ensure consistency.
Why Your Nose Knows Best
As the muffins bake, the aroma is an early indicator of doneness. The smell of chocolate and vanilla should fill the kitchen, but if you notice a burnt scent, pull them out immediately. The scent of freshly baked bread is a reliable cue for a perfect crumb. I always set a timer for 18 minutes but keep an eye on the aroma. This sensory checkpoint saves you from overbaked muffins.
The 5-Minute Rest That Changes Everything
After removing the muffins from the oven, let them rest on the rack for 5 minutes. This pause allows the interior to set, preventing the chocolate from leaking out. The rest also lets the flavors meld, creating a deeper chocolate profile. Many bakers skip this step, resulting in a slightly runny center. Trust me, that 5-minute rest is worth the wait.
Keep It Moist with a Splash
If your batter seems too thick, add a tablespoon of milk or water to loosen it. A thin batter will spread too much, causing the muffins to lose height. Conversely, too thin and the muffins will collapse. The right consistency is like a thick pancake batter—slightly runny but still thick enough to hold its shape.
Make It a Crowd‑Pleaser
These muffins are perfect for a brunch or a dessert buffet. Pair them with a drizzle of salted caramel or a scoop of vanilla ice cream. For a healthier twist, top them with a dusting of cocoa powder or a sprinkle of crushed nuts. They also make great gifts when packaged in a decorative tin. Your friends will thank you for the indulgence that doesn’t weigh them down.
Creative Twists and Variations
This recipe is a playground. Here are some of my favorite ways to switch things up:
Nutty Crunch
Add ½ cup chopped pecans or walnuts to the batter. The nuts add a crunchy texture and a buttery flavor that complements the chocolate. Toast the nuts lightly before adding for extra depth. The result is a muffin with a delightful bite and a nutty aroma. Serve with a splash of milk for a balanced experience.
Spicy Kick
Incorporate a pinch of cayenne pepper or a dash of cinnamon. The spice adds warmth and a subtle heat that contrasts with the sweet chocolate. I prefer a small amount of cayenne—just enough to give a hint of fire. This variation is great for those who love a little spice in their desserts. Pair it with a cool beverage to balance the heat.
Fruit Fusion
Fold in ½ cup of fresh blueberries or chopped dried cherries. The fruit adds juiciness and a burst of tartness that cuts through the richness. The blueberries also provide a pop of color, making the muffins visually appealing. Be sure to pat the fruit dry before adding to avoid excess moisture. The result is a fruit‑laden chocolate muffin that feels like a dessert and a snack.
Vegan Delight
Swap the eggs for flaxseed meal mixed with water (1 tablespoon flaxseed + 3 tablespoons water per egg). Replace the Greek yogurt with coconut yogurt for a tropical twist. Use maple syrup instead of honey. The texture remains moist and tender, while the flavor stays rich. This version is dairy‑free and egg‑free, perfect for those with dietary restrictions.
Mocha Madness
Add 1 tablespoon of instant espresso powder to the dry mix. The coffee enhances the chocolate flavor and adds a subtle bitterness. The result is a mocha muffin that tastes like a decadent espresso cake. I pair these with a latte for a full coffeehouse experience. The coffee note also brightens the overall flavor profile.
Chocolate Ganache Finish
Whisk together ¼ cup heavy cream and ¼ cup dark chocolate until smooth. Drizzle the ganache over the cooled muffins. The ganache adds a glossy finish and an extra layer of chocolate richness. It also softens the crumb, making each bite feel like a velvety treat. Use a light touch so the ganache doesn’t overpower the muffin.
Storing and Bringing It Back to Life
Fridge Storage
Place the muffins in an airtight container and refrigerate for up to 3 days. The cool temperature helps maintain moisture and prevents the chocolate from seeping out. When you’re ready to eat, let them sit at room temperature for 15 minutes to restore their softness. The fridge also slows down the oxidation of the chocolate, preserving its flavor. I find that refrigerated muffins taste fresher than room‑temperature ones.
Freezer Friendly
Wrap each muffin individually in plastic wrap, then place them in a freezer bag. They’ll stay good for up to 2 months. To thaw, leave them in the fridge overnight and then let them come to room temperature. Freezing preserves the texture and flavor, so you’ll get the same experience as fresh muffins. If you’re in a hurry, pop them in a low‑heat oven for 5 minutes.
Best Reheating Method
The secret to a warm, fresh muffin is a quick reheating in a toaster oven at 300°F (150°C) for 3-4 minutes. If you’re using a microwave, add a splash of water to the muffin before microwaving to keep it moist. A quick bake in the oven also re‑creates the golden crust. Remember to let the muffin cool slightly before eating to avoid burning your tongue. The reheated muffin should smell like freshly baked chocolate again.