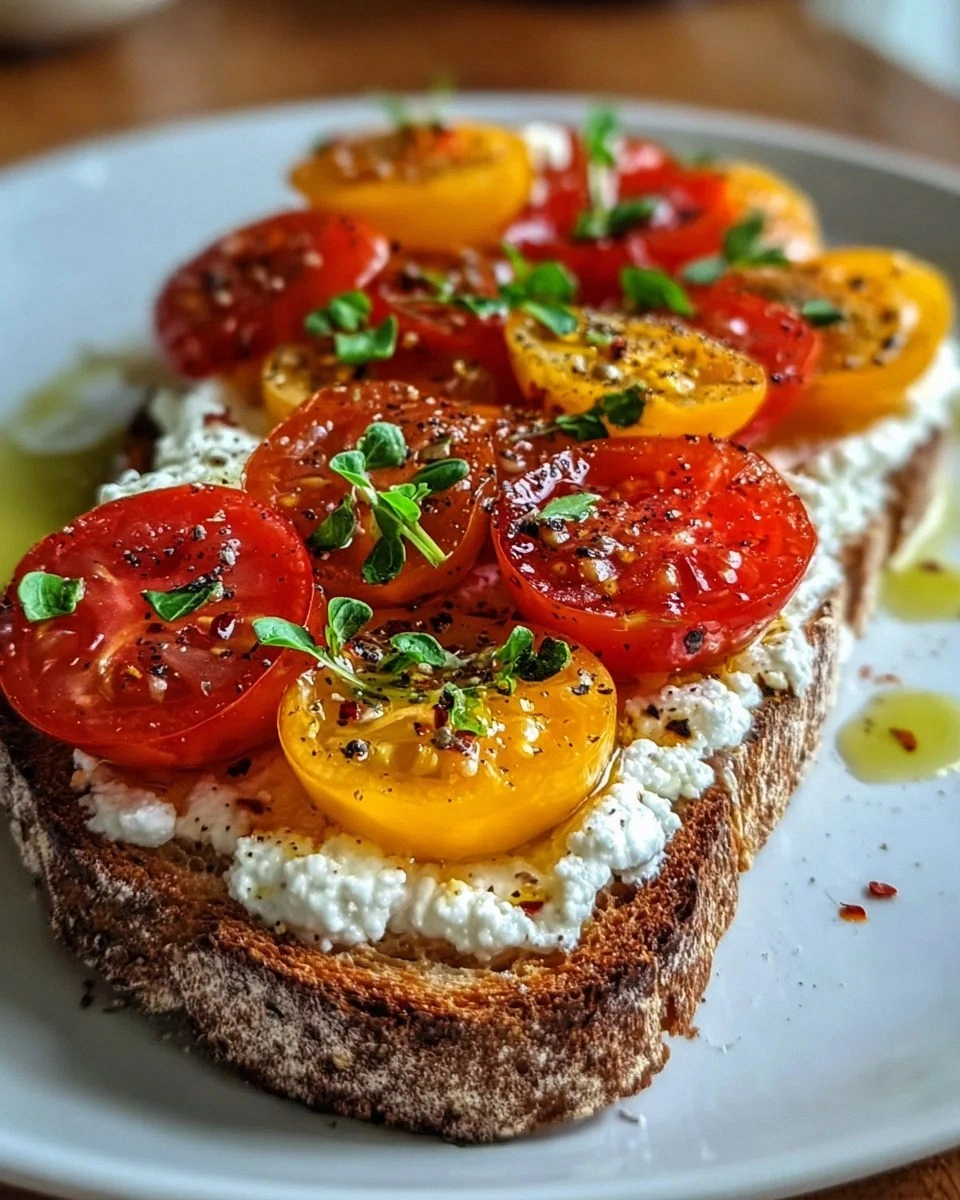
I was halfway through a chaotic Sunday brunch when the kitchen exploded in a tiny, unplanned fireball of flavor. My friends had dared me to turn a humble can of green beans into something that would make them question every other canned side dish they’ve ever tried. I stared at the unopened can, the smell of old, salty water already threatening to dominate the air, and decided that this was the moment to rewrite the narrative. The sizzling pan, the faint clink of a spoon, the bright green sheen of beans—each sensory detail was a promise of transformation.
The first thing you notice is the vibrant green that seems almost too bright for a pantry staple. As the beans hit the hot skillet, their skins crackle, releasing a faint, earthy aroma that pairs perfectly with the sharp scent of freshly ground pepper. The sound of the oil shimmering is like a gentle applause, while the subtle crunch of the beans’ edges gives a satisfying texture that feels like a secret handshake between simplicity and sophistication. Your tongue will immediately register a clean, slightly sweet bite, followed by a hint of savory depth that lingers long after the last bite. The tactile sensation of the pan’s heat radiating through your fingertips feels reassuring, as if the kitchen itself is cheering you on.
What sets this version apart from the countless other green bean recipes is the balance of seasoning and the use of pantry staples that elevate the dish to something that feels both comforting and adventurous. The secret lies in the precise layering of flavors—olive oil as the silky base, salt to enhance every component, black pepper for a subtle kick, onion powder for depth, and garlic powder for that aromatic punch that ties everything together. The result is a dish that is crisp on the outside yet tender on the inside, with a glossy finish that catches the light like a well-polished trophy. It’s the kind of dish that feels like a warm hug, yet has a daring edge that invites you to taste again and again.
I dare you to taste this and not go back for seconds, because once you experience the harmonious blend of textures and flavors, you’ll realize that the ordinary has been turned into an extraordinary delight. Picture yourself pulling this out of the pan, the whole kitchen smelling incredible, and watching the steam rise like a tiny cloud of anticipation. If you’ve ever struggled with canned beans, you’re not alone—this is the fix you’ve been waiting for. Stay with me here, because by the end of this post, you’ll wonder how you ever made it any other way.
What Makes This Version Stand Out
- Taste: The combination of olive oil, garlic, and onion powder creates a savory depth that elevates canned beans from bland to bold. The subtle peppery finish adds a layer of intrigue without overpowering.
- Texture: The quick sauté locks in a crisp exterior while keeping the interior tender, resulting in a contrast that feels like a mini culinary victory.
- Time: With a prep time of just 5 minutes and a cook time of 5 minutes, this dish is the epitome of efficiency for busy weeknights.
- Ingredient Quality: Using a high‑quality olive oil and freshly ground pepper ensures that every bite bursts with flavor, turning pantry staples into gourmet.
- Versatility: This base can be dressed up with protein, herbs, or spices, making it a canvas for endless creativity.
- Crowd Appeal: Even the most skeptical palates will be won over by the bright color and comforting taste, making it a crowd‑pleaser at any gathering.
Inside the Ingredient List
The Flavor Base
Olive oil is the unsung hero that binds all the flavors together. Its high smoke point allows for a quick sauté without burning, while its fruity undertones add a silky richness that coats every bean. If you skip the oil, the beans will simply steam in their own juices, resulting in a flat, uninspired dish. For a lower‑fat alternative, try using a small splash of vegetable broth, but keep in mind that you’ll lose that glossy finish.
The Seasoning Ensemble
Salt, black pepper, onion powder, and garlic powder work in concert to create a symphony of savory notes. Salt draws out the natural sweetness of the beans, while pepper adds a gentle heat that lingers on the palate. Onion powder provides a mellow, almost caramelized flavor, and garlic powder delivers a punch of aromatic intensity. If you’re watching sodium, reduce the salt to ½ teaspoon, but remember that the beans themselves carry a mild saltiness that will compensate.
The Unexpected Star
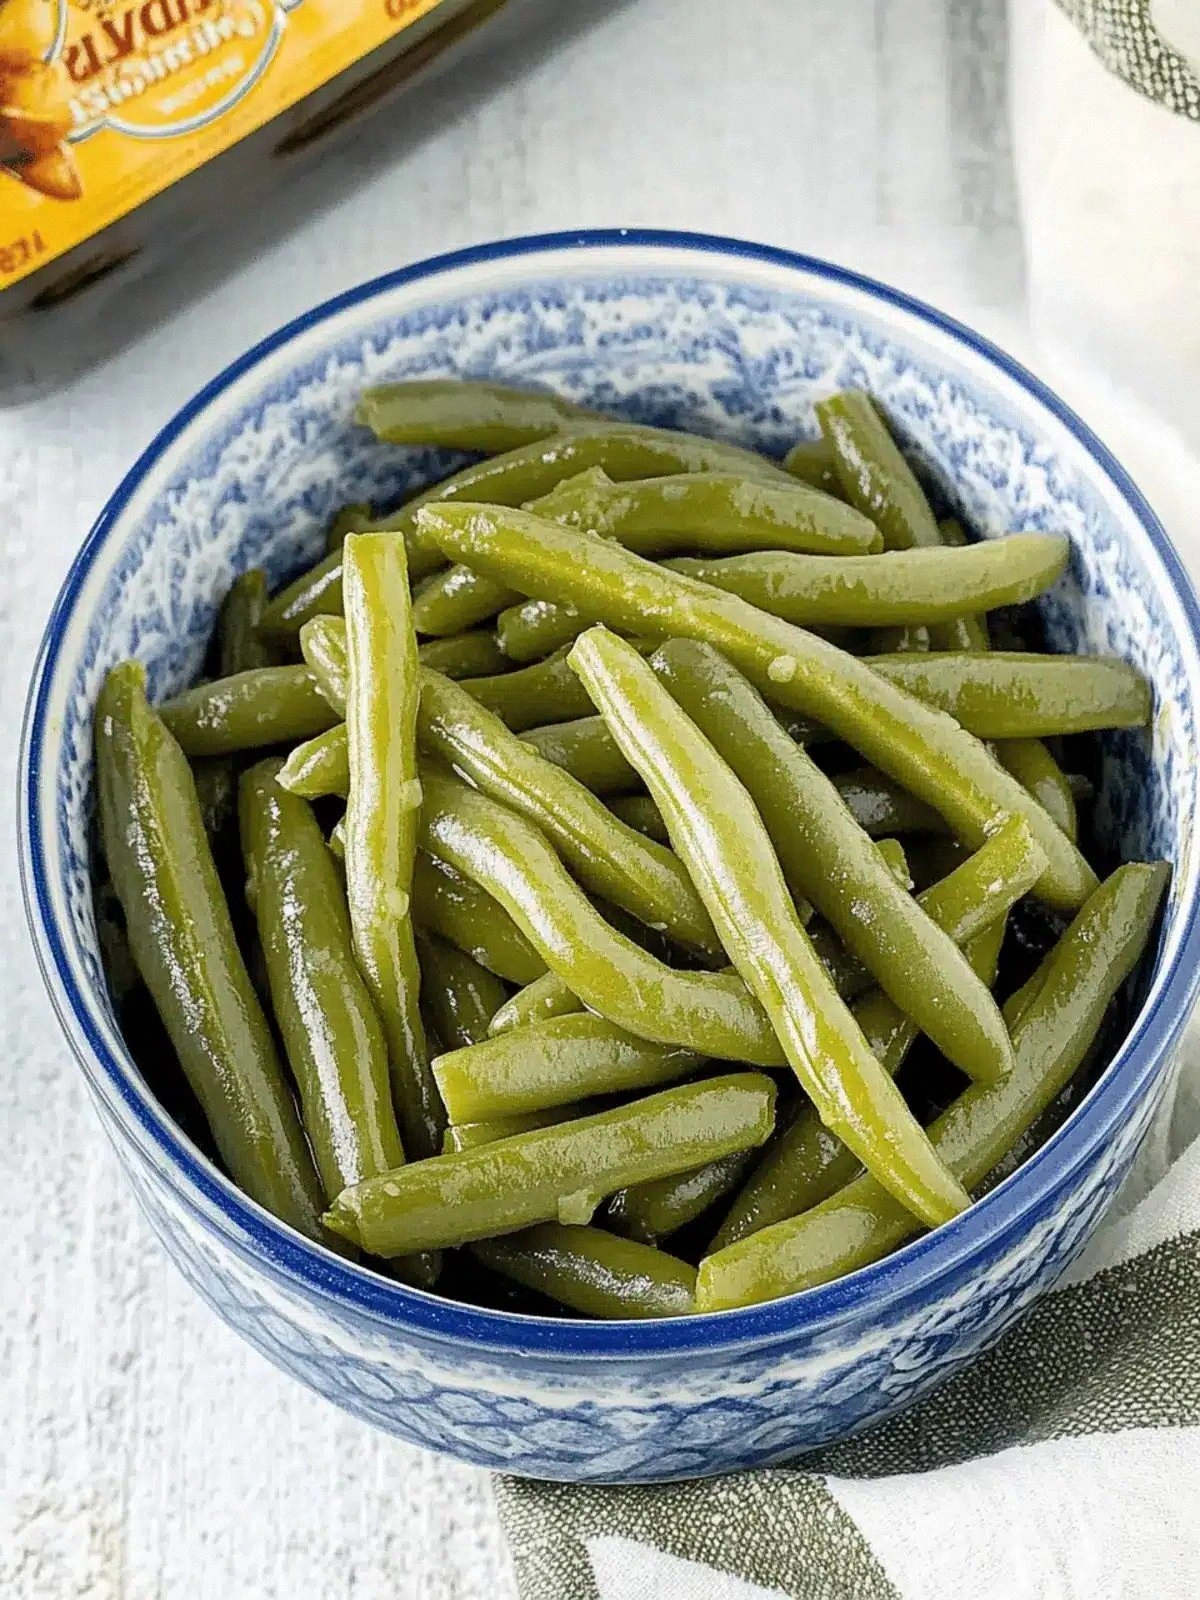
A single can of green beans might seem unremarkable, yet it’s the star of this dish. Look for a brand that preserves the beans in water rather than brine, as the latter can make them overly salty. Choosing a brand with a higher percentage of beans per can ensures maximum flavor and texture. If you’re adventurous, swap the canned beans for fresh or frozen ones and follow the same seasoning process for a slightly different mouthfeel.
The Final Flourish
A squeeze of lemon juice or a sprinkle of freshly grated Parmesan can transform the dish from simple to spectacular. The acidity cuts through the richness of the olive oil, while the cheese adds a salty, nutty finish. If you prefer a dairy‑free version, finish with a dash of nutritional yeast for a cheesy aroma without the dairy. This final flourish is what turns a humble side into a show‑stopper.
Everything’s prepped? Good. Let’s get into the real action, because the real magic happens in the pan.
The Method — Step by Step
- Begin by heating a large skillet over medium heat. Add one tablespoon of olive oil and let it shimmer until it’s almost golden. This creates a subtle nutty aroma that will permeate every bean. As the oil warms, you’ll notice the pan’s surface beginning to ripple, signaling that it’s ready for the beans.
- Open the can of green beans, reserving the liquid for a later step if desired. Drain the beans thoroughly in a fine mesh strainer, then pat them dry with a clean towel. Removing excess water ensures a crisp exterior and prevents the beans from steaming instead of sautéing.
- Add the drained beans to the skillet, spreading them in an even layer. Let them sit untouched for 30 seconds; this allows the bottom to develop a gentle sear. The sound of the beans sizzling against the hot surface is a subtle reminder that everything is on track.
- Sprinkle one teaspoon of salt, ½ teaspoon of ground black pepper, one teaspoon of onion powder, and one teaspoon of garlic powder over the beans. Stir gently to coat each bean evenly. The spices will release their aromas, creating a fragrant cloud that fills the kitchen.
- Cook the beans for 4-5 minutes, stirring occasionally. They should become tender yet retain a slight bite, and the edges will start to pull away from the pan. Keep a close eye on them; a quick stir prevents sticking and promotes even cooking.
- Optional: If you reserved the liquid, pour a splash into the skillet to create a light sauce. The beans will absorb the liquid, becoming silky and glossy. If you prefer a drier finish, simply continue cooking until the beans are crisp.
- Taste the beans and adjust seasoning if needed. A pinch of salt or a dash of pepper can fine-tune the flavor profile. Remember, the goal is balance—no single spice should dominate.
- Remove the skillet from heat and let the beans rest for a minute. This brief pause allows the flavors to settle and the heat to distribute evenly. Serve immediately, or let the beans cool if you plan to use them as a topping or side later.
That’s it— you did it. But hold on, I’ve got a few more tricks that will take this dish from good to unforgettable.
Insider Tricks for Flawless Results
The Temperature Rule Nobody Follows
Many people cook beans on low heat, thinking it’ll keep them from burning. In reality, a medium heat is essential for a quick sear and a crisp finish. If you keep the heat too low, the beans will steam and lose their texture. Try a quick test: drop a bean in the pan—if it sizzles, you’re good.
Why Your Nose Knows Best
Your sense of smell is the ultimate judge of seasoning. Before you add the final pinch of salt, inhale deeply; if the aroma feels balanced, you’re on track. If it skews too sharp, a dash of lemon juice can mellow it. Your nose is the secret tool that can prevent over‑seasoning.
The 5-Minute Rest That Changes Everything
Letting the beans rest after cooking allows the flavors to meld and the heat to distribute evenly. This simple pause can turn a good dish into a great one. I’ve seen people skip this step, and the beans come out a bit uneven in flavor.
Use a Non-Stick Pan for a Crisp Finish
A non‑stick skillet reduces the need for excess oil, keeping the dish lighter. It also makes cleanup a breeze, which is a bonus when you’re whipping up a quick meal. If you’re using a cast‑iron pan, pre‑heat it well to avoid sticking.
Add a Splash of Vinegar for Brightness
A dash of apple cider vinegar or white wine vinegar added at the end of cooking can brighten the dish and cut through the richness of the olive oil. It also adds a subtle tang that pairs well with the natural sweetness of the beans. Just a teaspoon is enough to make a noticeable difference.
Finish With Fresh Herbs for a Fresh Kick
A handful of chopped parsley, basil, or cilantro tossed in at the last minute adds color and a burst of freshness. Herbs bring a layer of complexity that elevates the dish beyond simple seasoning. They’re especially nice if you’re serving this alongside a protein.
Creative Twists and Variations
This recipe is a playground. Here are some of my favorite ways to switch things up:
Protein Power
Add diced chicken breast, sliced sausage, or crumbled bacon to the pan for a protein boost. The meat will absorb the seasoning and create a hearty side dish or main course. This variation is perfect for a quick weeknight dinner.
Herb‑Infused Delight
Swap the garlic powder for fresh minced garlic and finish with a sprinkle of fresh thyme or rosemary. The aromatic herbs will impart a fragrant depth that feels like a gourmet touch. Ideal for when you want a more sophisticated flavor profile.
Spicy Kick
Add a tablespoon of sriracha or a pinch of cayenne pepper during cooking. The heat will contrast with the mild beans, creating an exciting flavor dance. This is a great way to spice up a family dinner.
Cheesy Twist
Toss in a handful of shredded cheddar or mozzarella right before serving. The cheese will melt into a gooey, savory coating that makes the dish feel like comfort food at its finest. Pair it with a crusty bread for a satisfying meal.
Vegan Boost
Add a splash of soy sauce or tamari for umami, and finish with a drizzle of tahini for creaminess. This variation turns the dish into a plant‑based powerhouse, perfect for vegan gatherings.
Crunchy Finish
Sprinkle toasted almond slivers or crushed pistachios on top for a delightful crunch. The nuts add texture and a nutty flavor that complements the beans. This is an excellent garnish for a fancy dinner party.
Storing and Bringing It Back to Life
Fridge Storage
Store the cooked beans in an airtight container in the refrigerator for up to 3 days. The beans will remain crisp and flavorful when reheated with a splash of water or broth. Keep them away from strong‑smelling foods to avoid flavor absorption.
Freezer Friendly
Freeze the beans in a single layer on a baking sheet before transferring to a freezer bag for up to 2 months. When ready, thaw in the fridge overnight and reheat in a skillet with a splash of water. This method preserves the texture and flavor.
Best Reheating Method
Reheat the beans in a skillet over medium heat, adding a small amount of water or broth to prevent sticking. Stir frequently until the beans are heated through and the liquid has reduced. Finish with a pinch of fresh herbs or a squeeze of lemon for a fresh finish.