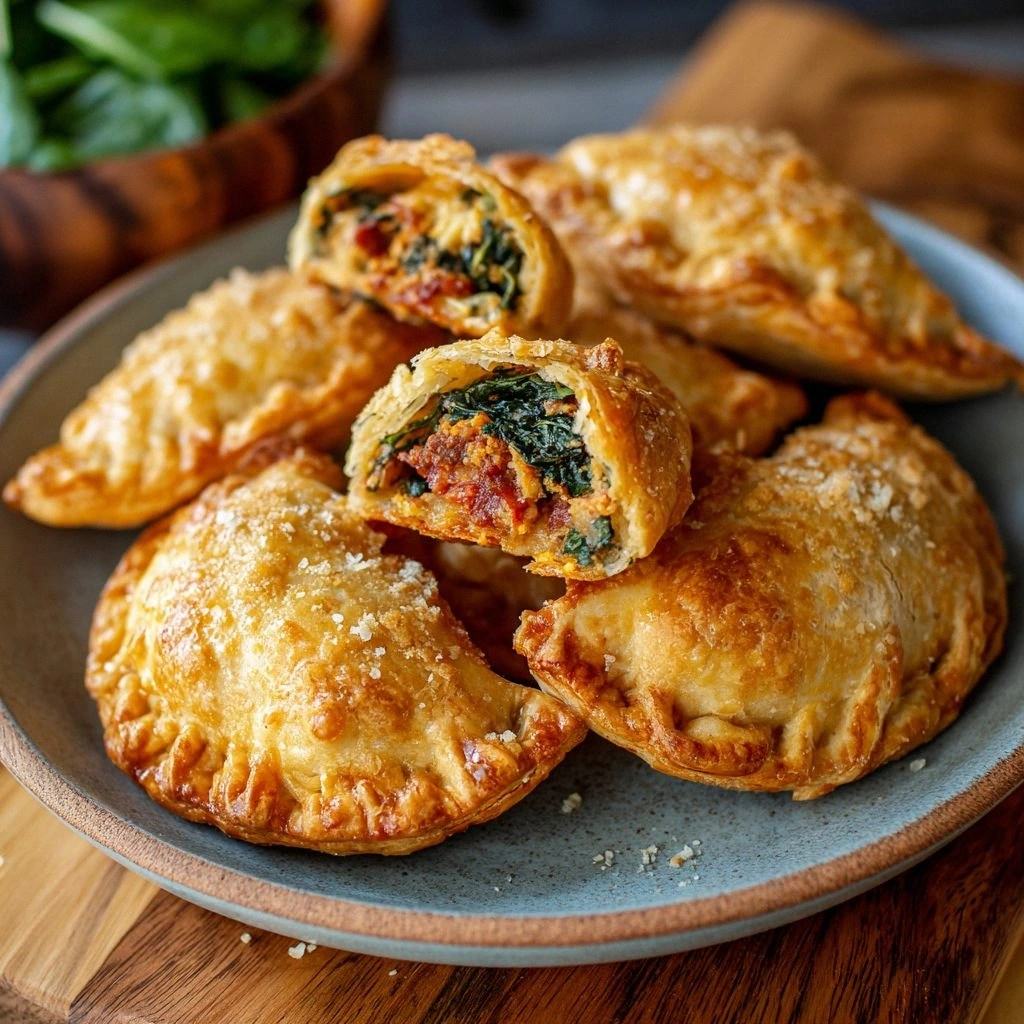
Protein Hand Pies
Picture this: you’re standing in a cramped kitchen, the oven is already preheated, and you’ve just pulled a bag of flour from the pantry. The aroma of toasted butter begins to mingle with the faint scent of fresh herbs, and you’re already feeling the inevitable urge to test your culinary mettle. I remember that night—my friend dared me to create the most irresistible hand pies using only protein powder, and I didn’t back down. The result was a golden, flaky crust that cracked like a brittle shell when you pressed it, and a filling that sang with savory notes of turkey, spinach, and feta. That moment proved that a little science and a lot of confidence can turn an ordinary snack into a headline act.
If you’ve ever struggled with making hand pies that are both high in protein and bursting with flavor, you’re not alone. Most recipes on the internet lean heavily on flour or pastry dough, leaving you with a bland, doughy experience that feels like a missed opportunity. What sets this version apart is the strategic use of whey protein isolate in the crust, which not only boosts the protein content but also creates a tender, slightly chewy texture that holds the filling perfectly. The filling itself is a symphony of ground turkey, spinach, and a blend of feta and mozzarella, seasoned with garlic, oregano, and a pinch of pepper—every element carefully chosen to elevate the overall taste profile.
I dare you to taste these hand pies and not go back for seconds. That sizzle when they hit the oven? Absolute perfection. The moment you bite into one, the crust gives way to a warm, savory center that feels like a hug from the inside. The protein-packed crust keeps the pies light enough to avoid feeling like a heavy meal, while the filling delivers a satisfying crunch that shatters like thin ice. And the best part? The flavor is so bold that it will outshine any standard hand pie you’ve ever made.
So, if you’re ready for a game‑changer that will have your friends begging for the recipe, let me walk you through every single step. By the end, you’ll wonder how you ever made hand pies any other way. This isn’t just a recipe; it’s a culinary revelation that will transform your kitchen routine.
What Makes This Version Stand Out
- Protein Power: The inclusion of whey protein isolate in the dough elevates the protein content without compromising texture. This means you can enjoy a snack that fuels your muscles and satisfies your cravings simultaneously.
- Flaky Texture: The butter and water ratio creates a laminated dough that curls beautifully, giving the crust a light, airy feel that contrasts with the dense filling.
- Flavor Depth: The combination of feta and mozzarella in the filling adds a creamy, tangy layer that balances the savory turkey and spinach.
- Make‑Ahead Friendly: These pies can be assembled and frozen before baking, allowing you to pop them into the oven on busy days without sacrificing quality.
- All‑Day Appeal: Whether you serve them for a quick lunch, a post‑workout snack, or a crowd‑pleasing appetizer, the taste remains consistently stellar.
- Ingredient Quality: Using fresh spinach and high‑grade ground turkey ensures that each bite delivers maximum flavor and nutritional value.
- Minimal Waste: The recipe’s ingredient list is streamlined to reduce excess, making it budget‑friendly and eco‑conscious.
- Scalable: The recipe scales cleanly, so whether you’re cooking for two or twenty, the proportions stay intact.
Alright, let’s break down exactly what goes into this masterpiece. The next section will dive into each ingredient, explaining why it matters and what happens if you skip it. Trust me, you’ll want to keep this list handy while you prep.
Inside the Ingredient List
The Flavor Base
At the heart of every great hand pie is a flavorful foundation. In this recipe, the base starts with 2 cups of all‑purpose flour that provides the structural backbone for the crust. Adding ½ cup of whey protein isolate not only increases the protein punch but also imparts a subtle nutty undertone that complements the savory filling. The ½ cup of cold butter, cut into cubes, is the secret to that flaky, buttery bite—when the dough is rolled and folded, the butter creates layers that puff up during baking. A single large egg acts as a binder, keeping the dough cohesive while adding a touch of richness. Finally, ¼ cup of cold water brings the dough together without making it too sticky. If you skip the water, the dough will be dry and crumbly; if you add too much, it becomes gummy and won’t hold its shape.
The Texture Crew
Texture is everything in a hand pie. The 1 lb of ground turkey is the star of the filling, offering lean protein and a neutral canvas that absorbs the herbs and spices beautifully. Fresh spinach—2 cups, roughly chopped—adds moisture and a burst of green that brightens the overall look. Feta cheese, crumbled to 1 cup, introduces a briny, tangy flavor that cuts through the richness of the meat and cheese. Mozzarella, shredded into 1 cup, melts into a gooey center that pulls the pie together. A pinch of salt and ½ tsp of black pepper balance the flavors, while 1 tsp of dried oregano brings a Mediterranean flair. If you prefer a spicier kick, a dash of red pepper flakes will elevate the heat without overpowering the dish.
The Unexpected Star
The unexpected star in this recipe is the whey protein isolate. Many people shy away from adding protein powder to savory dishes, fearing a chalky taste. In this dough, the protein blends seamlessly, adding a mild, almost buttery flavor that enhances the overall profile. The protein also helps the dough retain moisture, preventing it from drying out during baking. If you’re looking for a plant‑based alternative, pea protein works just as well, but it may impart a slightly earthy note that some diners find intriguing.
The Final Flourish
The final flourish consists of 1 tsp of dried oregano, a subtle but essential herb that ties all the components together. It’s the finishing touch that gives the pie a cohesive Mediterranean vibe. The 1 tsp of salt is essential for bringing out the flavors of the meats and cheeses. A dash of black pepper adds depth, while a pinch of garlic powder (optional) can boost umami. If you’re a fan of extra crunch, sprinkle a light dusting of grated Parmesan on top before baking for a golden, savory crust.
Everything’s prepped? Good. Let’s get into the real action.
The Method — Step by Step
- In a large mixing bowl, whisk together the flour, whey protein isolate, salt, and pepper until evenly distributed. This dry blend ensures that the protein powder is fully incorporated, preventing clumps that could affect the dough’s texture.
- Add the cold butter cubes to the dry mixture. Using a pastry blender or your fingertips, cut the butter into the flour until the mixture resembles coarse crumbs with pea‑size pieces of butter still visible. This step is crucial for creating flaky layers.
- In a separate bowl, whisk the egg with the cold water. Pour this wet mixture into the dough, stirring gently until the dough comes together. It should be slightly sticky but manageable; if it’s too dry, add a tablespoon of water at a time.
- Turn the dough onto a lightly floured surface and knead for about 2 minutes until smooth. Pat the dough into a disk, wrap it in plastic wrap, and refrigerate for at least 30 minutes. Chill the dough to keep the butter solid, which is essential for a flaky crust.
- While the dough chills, prepare the filling. Heat a large skillet over medium heat and add the ground turkey. Cook until browned and crumbly, about 5–7 minutes. Drain any excess fat to keep the filling light.
- Add the chopped spinach to the skillet and cook until wilted, about 2 minutes. Stir in the minced garlic, oregano, salt, and pepper, cooking for an additional minute until fragrant.
- Remove the skillet from heat and let the mixture cool slightly. Fold in the crumbled feta and shredded mozzarella, allowing the cheeses to melt into the warm filling. This creates a cohesive, creamy interior.
- Preheat the oven to 375°F (190°C). On a lightly floured surface, roll the chilled dough into a 12‑inch circle. Cut the circle into 12 equal wedges using a pizza cutter or sharp knife.
- Place a heaping tablespoon of the filling onto the center of each wedge. Fold the dough over the filling, sealing the edges by pinching them together. For a decorative touch, crimp the edges with a fork.
- Place the assembled pies on a parchment‑lined baking sheet. Brush each pie lightly with a beaten egg to promote a golden crust.
- Bake for 25–30 minutes, or until the crust is golden brown and the filling is bubbling. The pies should emit a toasty aroma that makes the kitchen feel like a gourmet bakery.
- Let the pies cool for 5 minutes before serving. The filling will set slightly, preventing a molten mess when you take the first bite.
That’s it — you did it. But hold on, I’ve got a few more tricks that will take this to another level. These insider tips will help you master the technique and avoid common pitfalls.
Insider Tricks for Flawless Results
The Temperature Rule Nobody Follows
Many bakers bake hand pies at a high temperature, hoping for a crisp crust. However, the key to a tender, flaky edge is actually a slightly lower temperature—375°F (190°C). Baking at this moderate heat allows the butter to melt slowly, creating steam that lifts the dough without overcooking it. If you push the temperature too high, the crust becomes hard and the filling may dry out. I’ve baked at 400°F a few times, and the pies turned out unevenly browned and a little too dense.
Why Your Nose Knows Best
The scent of a pie baking is a powerful indicator of progress. When the dough starts to puff and the butter begins to brown, you’re at the sweet spot. If you wait too long, the crust may over‑brown, turning from golden to burnt. The first few minutes of baking are the most critical; keep a close eye on the color and aroma. A friend once left his pies unattended for an extra ten minutes, and the result was a burnt exterior with a soggy interior—a hard lesson in timing.
The 5‑Minute Rest That Changes Everything
After baking, let the pies rest for at least five minutes. This brief pause allows the filling to set, preventing a runny mess when you cut into them. The steam inside the pies condenses and redistributes, giving the interior a silky texture. Skipping this step often results in a messy, cheese‑dripping mess that’s difficult to eat. I’ve always kept a timer on my phone to remind myself of this crucial rest period.
Cheese Selection Matters
The combination of feta and mozzarella creates a balance of tang and creaminess. If you prefer a sharper flavor, swap feta for goat cheese. For a milder profile, use provolone instead of mozzarella. Each cheese type brings a unique melt and taste, so feel free to experiment. My favorite twist is adding a sprinkle of smoked Gouda on top for a subtle smokiness.
Freezer Friendly
These pies freeze beautifully. Assemble them first, then place them on a parchment line and freeze until solid. Once frozen, transfer to an airtight container or freezer bag. When you’re ready to bake, skip the thawing step and bake directly from the freezer—add an extra 5 minutes to the baking time. The result is a crisp crust and a perfectly cooked filling, just like freshly baked.
Presentation Tips
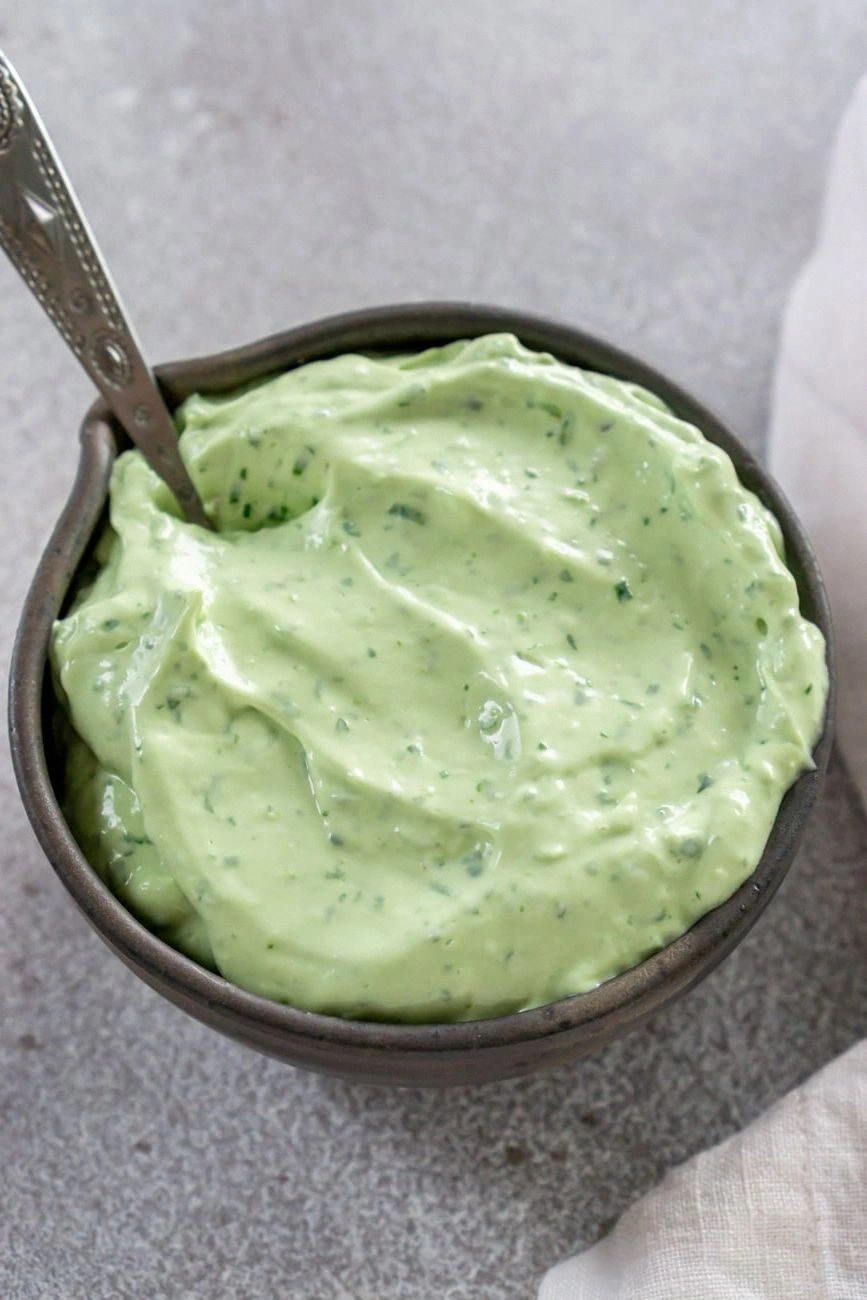
For a stunning plate, arrange the pies in a circle or a row, drizzle a thin line of olive oil, and garnish with fresh herbs or microgreens. A drizzle of lemon‑yogurt sauce adds a bright contrast that elevates the dish. Serve them warm with a side of marinara or a crisp salad for a balanced meal. The visual appeal will win you compliments even before the first bite.
Creative Twists and Variations
This recipe is a playground. Here are some of my favorite ways to switch things up:
Spinach & Feta Supreme
Omit the turkey and double the spinach for a vegetarian version. Add a handful of chopped sun‑dried tomatoes for a burst of umami. The result is a lighter, yet still protein‑rich, pie that’s perfect for a quick lunch.
Mexican Fiesta
Swap the oregano for cumin and add a splash of salsa to the filling. Sprinkle shredded cheddar cheese on top before baking. The pies become a spicy, savory treat that pairs wonderfully with a dollop of guacamole.
BBQ Chicken Delight
Use shredded rotisserie chicken and mix in half a cup of BBQ sauce with the filling. Add chopped bell peppers and a pinch of smoked paprika. The smoky sweetness of BBQ will transform the pies into a party staple.
Breakfast Boost
Replace the turkey with diced ham or bacon, and add a beaten egg to the filling. This creates a protein‑packed breakfast hand pie that can be enjoyed on the go. Serve with a side of fresh fruit for a balanced start to the day.
Cheesy Broccoli & Turkey
Add 1 cup of steamed broccoli to the filling and sprinkle extra mozzarella on top. The broccoli adds a subtle crunch and a pop of color. This variation is a hit with kids who love cheese.
Gluten‑Free Edition
Use a gluten‑free flour blend (1 cup) and add a tablespoon of xanthan gum to replace the gluten structure. The dough will be slightly denser but still flaky. This version keeps the protein content intact for those with dietary restrictions.
Storing and Bringing It Back to Life
Fridge Storage
Store uncooked pies in the refrigerator for up to 24 hours. Keep them in an airtight container to prevent them from drying out. When you’re ready to bake, let them sit at room temperature for 15 minutes to ensure even cooking.
Freezer Friendly
Unbaked pies can be frozen for up to 3 months. Wrap each pie tightly in plastic wrap, then place them in a freezer bag. When ready, bake from frozen, adding an extra 5 minutes to the baking time. The crust will still come out golden and flaky.
Best Reheating Method
To reheat, preheat the oven to 350°F (175°C) and place the pies on a baking sheet. Heat for 8–10 minutes, or until the crust is crisp and the filling is heated through. Adding a splash of water to the bottom of the pan creates steam, keeping the filling moist and preventing it from drying out.