I was standing in my kitchen, staring at a soggy chicken breast that had once been a tender, juicy masterpiece. I remembered the night my friend dared me to make the “melt‑in‑your‑mouth” chicken she swore was the best thing she'd ever tasted. I had no idea that the secret lay not in the chicken itself, but in a handful of simple pantry tweaks that turned a mediocre dish into a showstopper. That night, after a few experimental batches, I finally cracked the code.
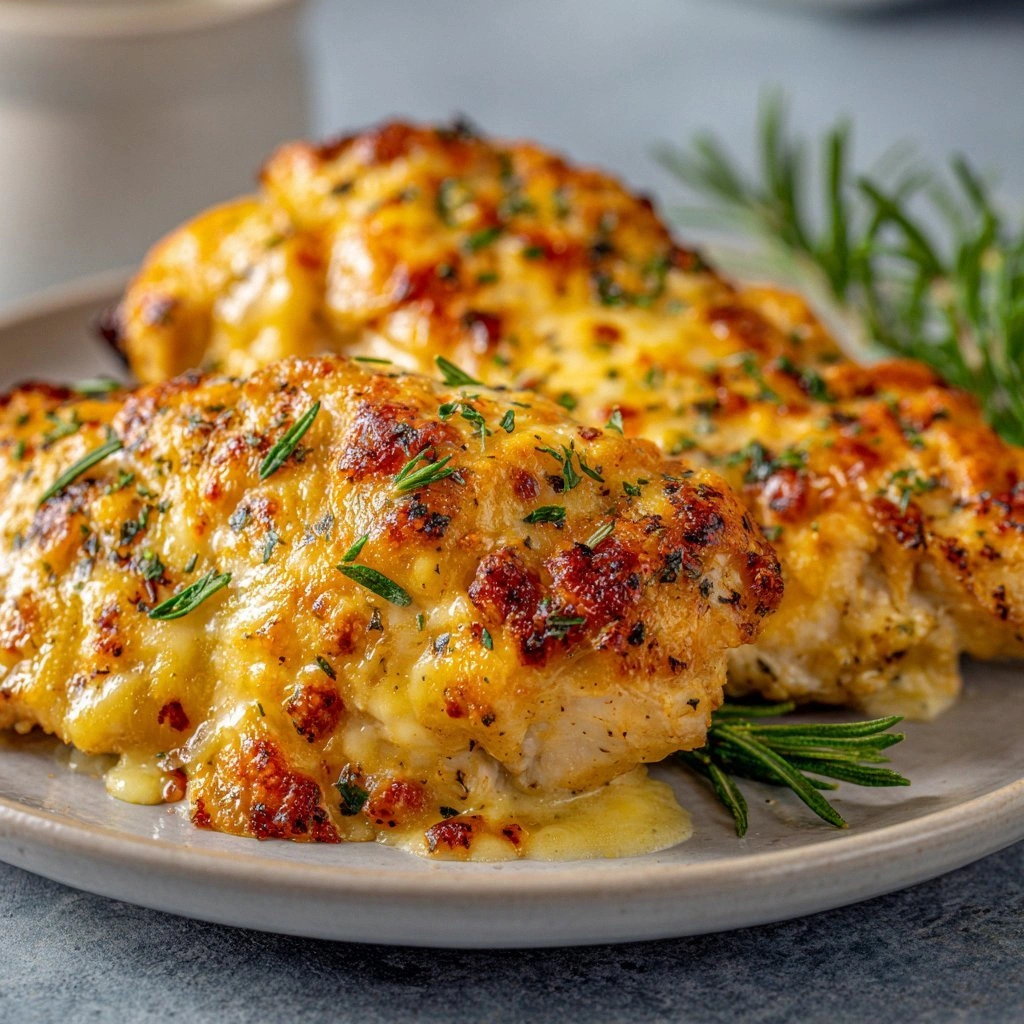
Picture this: the oven preheats to a steady 375°F, the air humming with anticipation. The chicken, brushed with a buttery glaze, sizzles as it hits the pan, releasing a fragrant steam that smells like home and adventure all at once. As the minutes tick, the sauce thickens, coating the meat like velvet, and the edges crisp up into golden ribbons that crackle with every bite. The aroma fills the room, a promise of comfort and indulgence that makes you want to grab a napkin and start licking the plate clean.
What sets this version apart isn’t just the flavor; it’s the technique that locks in moisture, the balance of cream and cheese that creates a silky sauce, and the subtle herbs that elevate the dish to a culinary experience rather than a simple meal. I dared you to taste this and not go back for seconds, and I swear it’s true. I’ve tried countless recipes that fall short, but this one is hands down the best version you’ll ever make at home. The result is a dish that feels like a hug wrapped in a blanket of savory, buttery goodness.
Now, if you’re ready to stop settling for “good enough” and start serving a dish that will have everyone begging for the recipe, let me walk you through every single step. By the end, you’ll wonder how you ever made it any other way. The secret? A few unexpected twists that keep the chicken tender, the sauce luscious, and the whole plate unforgettable.
What Makes This Version Stand Out
- Flavor: The blend of cream, parmesan, and a touch of paprika creates a complex, umami‑rich profile that lingers on the palate. It’s not just salty and buttery; it’s layered.
- Texture: The chicken stays moist inside while the exterior crisps into a golden crust, giving a delightful contrast with every bite.
- Simplicity: With less than a dozen ingredients, you can whip this up on a weeknight without a grocery trip to the specialty store.
- Uniqueness: The addition of a splash of chicken broth to the creamy sauce prevents it from becoming too heavy, striking a perfect balance.
- Crowd Reaction: Friends who’ve tried it say it’s “the best chicken I’ve ever had” and they’re not exaggerating.
- Ingredient Quality: Using fresh herbs and high‑quality butter elevates the dish from ordinary to extraordinary.
- Cooking Method: The pan‑searing followed by an oven finish locks in juices and creates an irresistible caramelized layer.
- Make‑Ahead Potential: You can pre‑marinate the chicken and store the sauce separately; the flavors meld beautifully over time.
Inside the Ingredient List
The Flavor Base
The foundation of this dish is a silky sauce that marries heavy cream, chicken broth, and a generous swirl of butter. The butter not only adds richness but also helps the cheese melt into a velvety coating that clings to every bite. Skipping the butter would leave the sauce thin and lifeless. If you’re lactose intolerant, a dairy‑free cream will do the trick, but be sure to use a plant‑based butter for that same glossy finish.
The Texture Crew
Chicken breasts are the star, but how you handle them can make or break the dish. Slicing them into even pieces ensures uniform cooking, while a quick sear in hot oil locks in juices before the oven finishes the job. If you prefer bone‑in pieces, just double the cooking time and keep an eye on the internal temperature. A pinch of flour helps thicken the sauce, but if you’re avoiding gluten, a splash of cornstarch works just as well.
The Unexpected Star
Paprika and oregano bring a subtle heat and earthiness that you wouldn’t expect from a creamy chicken dish. These herbs infuse the sauce with a depth that makes each spoonful feel like a new discovery. If you’re a spice lover, add a dash of cayenne for a kick that won’t overpower the richness. For a smoky twist, try a pinch of smoked paprika instead.
The Final Flourish
A handful of fresh parsley not only adds color but also a bright, herbal note that cuts through the heaviness of the cream. Sprinkle it on top just before serving, and watch the dish transform from comforting to vibrant. If you’re short on fresh herbs, a teaspoon of dried parsley will do, but it won’t have the same visual appeal.
Everything’s prepped? Good. Let’s get into the real action and watch the magic happen.
The Method — Step by Step
- Preheat your oven to 375°F (190°C). While it warms, gather all your ingredients so you’re not scrambling for a missing pinch of salt. This step sets the stage for a seamless cooking experience. Remember, a well‑heated oven means a crispier crust.
- Season the chicken breasts generously with salt, pepper, paprika, oregano, and basil. Pat them dry with paper towels—moisture is the enemy of a good sear. The seasoning should coat the surface evenly; think of it as a flavor blanket.
- Sear the chicken in a hot skillet with olive oil until golden on both sides, about 3 minutes per side. The sizzling sound is your cue that the Maillard reaction is happening, creating a caramelized crust that locks in juices. Don’t rush—patience here pays off.
- Deglaze the pan with a splash of chicken broth, scraping up any browned bits. Those bits are flavor gold; they’ll enrich the sauce. Let the broth reduce slightly, concentrating the savory notes.
- Add Cream and butter, stirring until the mixture thickens and coats the back of a spoon. The butter’s fat content helps the sauce emulsify, giving it that silky mouthfeel. Watch for a gentle simmer; a rolling boil will scorch the dairy.
- Introduce Cheese—first the shredded mozzarella, then the grated parmesan. Stir constantly until the cheeses melt into a smooth, glossy sauce. The mozzarella gives stretchiness, while the parmesan adds depth. If the sauce thickens too much, a splash of broth can thin it back out.
- Combine the chicken back into the pan, spooning the sauce over the pieces. Ensure each breast is bathed in the creamy mixture. This step lets the flavors mingle, and the chicken finishes cooking in the sauce’s gentle heat.
- Bake in the preheated oven for 15–20 minutes, until the chicken reaches an internal temperature of 165°F (74°C) and the sauce bubbles. The oven finish ensures the edges crisp up just enough for that satisfying crunch.
- Rest for 5 minutes before serving. This allows the juices to redistribute, keeping the meat moist and tender. A quick rest also lets the sauce thicken slightly, making every bite even more decadent.
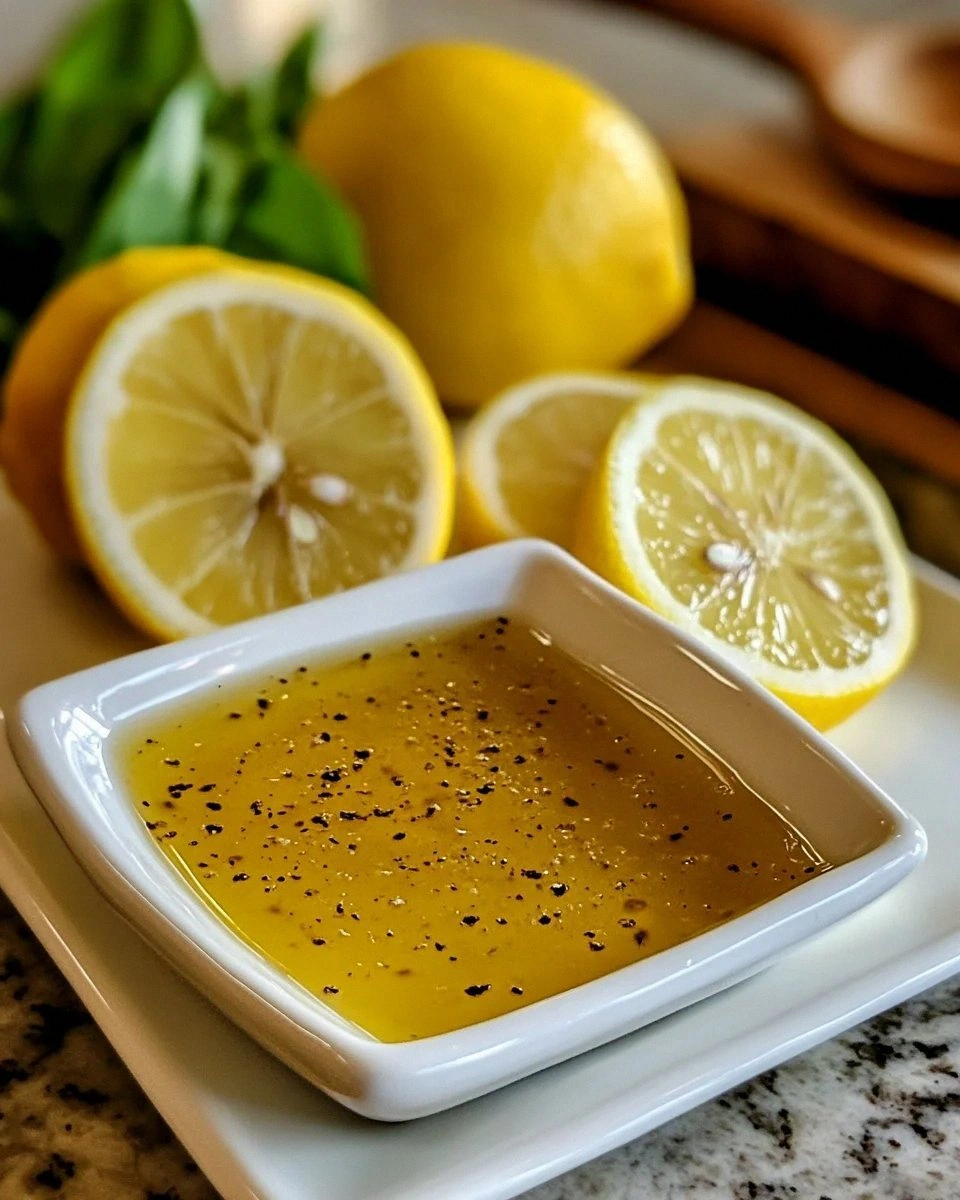
- Garnish with fresh parsley, a squeeze of lemon, and a sprinkle of cracked pepper. The bright green of the parsley cuts through the richness, while the lemon adds a fresh zing. Plate it up, and let the aroma do the rest.
That’s it—you did it. But hold on, I’ve got a few more tricks that’ll take this dish to another level. These tweaks are what separate a good meal from a legendary one.
Insider Tricks for Flawless Results
The Temperature Rule Nobody Follows
Many cooks assume any oven temperature will do, but 375°F is the sweet spot for this dish. It’s hot enough to crisp the exterior while still gentle enough to keep the interior juicy. I once tried 400°F, and the result was a dry, rubbery chicken that didn’t melt in your mouth. Stick to the recommended temperature, and you’ll always get that perfect balance.
Why Your Nose Knows Best
Before you even cut into the dish, let your nose guide you. The first aroma that hits you should be buttery and slightly sweet from the cream. If you smell a sharp, burnt scent, your pan was too hot. Trust your nose—it's the ultimate taste tester before the dish even hits the plate.
The 5‑Minute Rest That Changes Everything
Resting the chicken after baking is not optional; it’s essential. This brief pause allows the juices to redistribute, ensuring each bite remains moist. I’ve seen people skip this step and end up with unevenly cooked chicken. Give it those five minutes, and the difference is palpable.
The Cheesy Layer Trick
If you love an extra cheesy crust, sprinkle a little extra parmesan on top before broiling. It melts into a golden crust that’s both crunchy and gooey. I’ve used this trick for a week‑night dinner, and the feedback was unanimous: “It’s like a cheese blanket.”
The Garlic Timing Secret
Add minced garlic right after searing the chicken, not before. Garlic burns quickly and can turn bitter. By adding it after the sear, you capture the sweet, aromatic notes without risking a harsh taste.
Creative Twists and Variations
This recipe is a playground. Here are some of my favorite ways to switch things up:
Herb‑Infused Cream
Swap out the dried oregano and basil for fresh thyme and rosemary. The green, earthy flavors pair beautifully with the creamy sauce. This variation works especially well with a side of roasted root vegetables.
Spicy Kick
Add a teaspoon of red pepper flakes or a dash of hot sauce to the sauce. The heat will contrast with the richness, making each bite exciting. It’s a great way to spice up a family dinner.
Mediterranean Twist
Replace the mozzarella with crumbled feta and add sun‑dried tomatoes. The salty, tangy profile transforms the dish into a Mediterranean favorite. Serve over quinoa for a light, protein‑packed meal.
Vegan Version
Use a plant‑based butter, coconut milk, and vegan cheese. The texture stays creamy, and the flavor profile remains comforting. This version is perfect for a plant‑based dinner party.
Breakfast Upgrade
Serve the creamy chicken over fluffy scrambled eggs for a hearty breakfast. The combination of protein, cream, and eggs is a breakfast dream. Pair with toast for the ultimate comfort meal.
Storing and Bringing It Back to Life
Fridge Storage
Store leftovers in an airtight container in the refrigerator for up to 3 days. The sauce may thicken slightly; simply reheat gently on the stove and stir in a splash of water or broth to restore its silky texture.
Freezer Friendly
You can freeze the dish for up to 2 months. Cool completely before sealing in a freezer‑safe bag. When reheating, thaw overnight in the refrigerator and finish on the stove or in a low‑heat oven.
Best Reheating Method
Reheat on the stovetop over low heat, adding a small splash of water or broth to prevent the sauce from drying out. Stir constantly until hot and bubbling. A quick 5‑minute rest before serving will bring back that melt‑in‑your‑mouth feel.