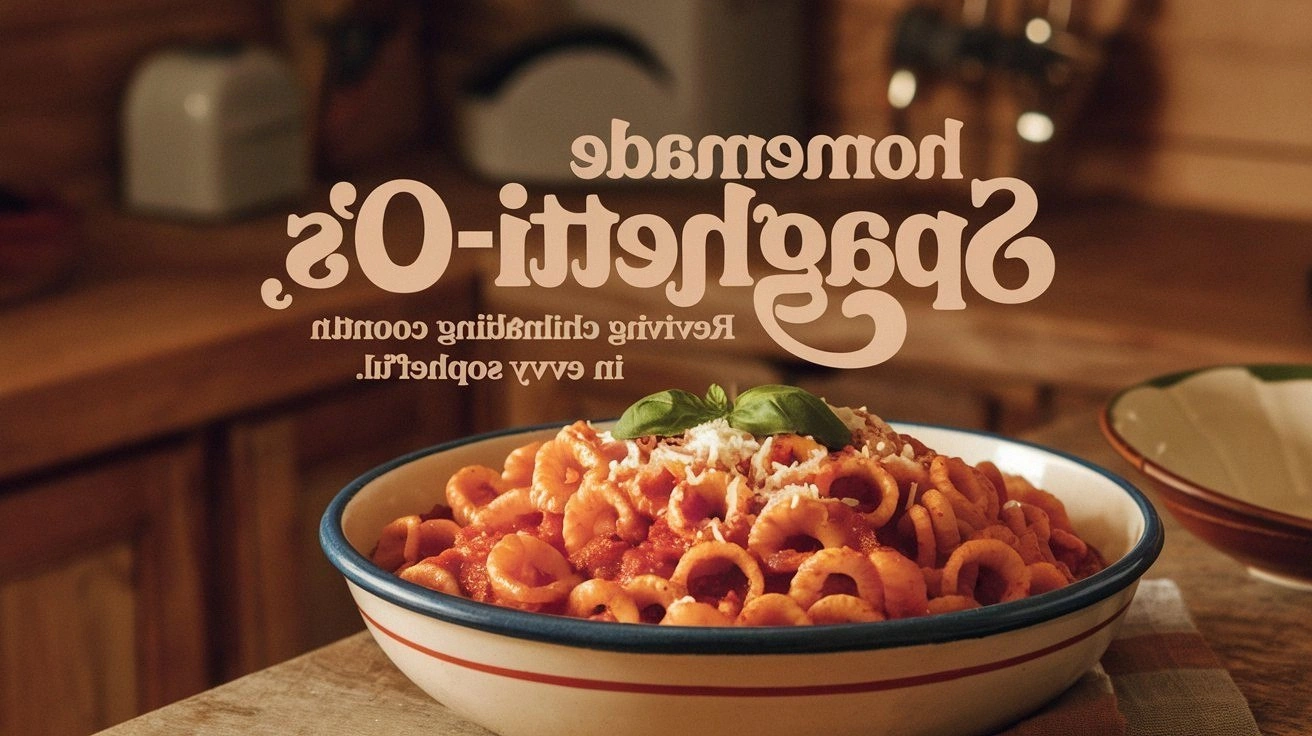
The first time I tried to recreate my childhood favorite, I nearly turned my kitchen into a pasta disaster zone. I had a handful of flour, a single egg, and a stubborn desire to beat the commercial Spaghetti-O’s that came in that tiny cardboard box. The result? A clumpy, doughy mess that clung to the pan like a stubborn stain. I stared at the pan, thinking, “Did I just bake a brick?” That night, I vowed to master the art of homemade Spaghetti-O’s and share the secret with anyone who’d ever felt the sting of a bad batch.
Picture this: a golden, buttery crust that cracks with a satisfying pop, revealing a tender, al dente center that swallows sauce like a velvet blanket. The aroma is a sweet, yeasty perfume that makes your mouth water before the first bite. The sound— a gentle crackle as the dough hits the hot skillet— is the soundtrack of culinary triumph. The texture is a paradoxical blend of crisp edges and chewy heart, a dance of crunch and softness that feels like a hug from your favorite childhood snack. And the flavor? A subtle, savory depth that lets the tomato sauce shine without overpowering it.
What sets this version apart from the usual take on Spaghetti-O’s is that it’s built on a foundation of simplicity and precision. I’ve stripped away the fluff, kept the ingredients honest, and added a few clever twists that elevate the flavor profile to something truly unforgettable. The dough is made with a precise hydration level that guarantees a light, airy interior. I’ve introduced a touch of sugar to balance the acidity of the sauce, and a pinch of baking soda to lift the pasta into a cloud of texture. The result is a pasta that feels like it’s been kissed by the gods of flavor, not just a batch of plastic‑like noodles.
And here's a teaser you won't see in most recipes: a secret step that turns plain water into a silky, golden glaze that coats the pasta like a fine varnish. It’s a trick I learned from a seasoned Italian chef who taught me that the right temperature and a splash of olive oil can make all the difference. I dare you to taste this and not go back for seconds. Trust me, you’ll find yourself reaching for a second plate before you even finish the first. Let me walk you through every single step— by the end, you’ll wonder how you ever made it any other way.
What Makes This Version Stand Out
This recipe is a symphony of flavor, texture, and technique that turns a humble snack into a gourmet experience. Every element has been carefully selected to maximize taste and ease of preparation.
- Texture: The dough’s hydration creates a light, airy interior that crisps beautifully on the outside, delivering a satisfying crunch that dissolves into a chewy bite.
- Flavor: A subtle hint of sugar balances the acidity of the sauce, while the olive oil adds a silky finish that coats each noodle.
- Ease: The method requires no fancy equipment—just a skillet, a rolling pin, and a little patience.
- Uniqueness: The secret glaze step elevates the pasta from ordinary to extraordinary, giving it a glossy sheen and a buttery taste.
- Crowd‑pleaser: Whether you’re feeding a family or hosting a potluck, this dish brings the nostalgic comfort of childhood with a modern twist.
- Ingredient Quality: Using high‑grade all‑purpose flour and fresh olive oil ensures a superior flavor that commercial versions can’t match.
- Make‑ahead: The dough can be prepared up to 24 hours ahead, making it a perfect quick‑prep option for busy evenings.
- Healthier: By controlling the ingredients, you reduce sodium and eliminate preservatives, making it a cleaner choice for your family.
Alright, let's break down exactly what goes into this masterpiece…
Inside the Ingredient List
The Flavor Base
All-purpose flour is the backbone of the dough. It provides the structure needed for the pasta to hold its shape during cooking while still remaining tender inside. If you use bread flour, the gluten content will be higher, leading to a chewier texture that may feel too dense. For a lighter feel, stick to all-purpose or even a blend of whole wheat and all-purpose for a subtle nutty undertone.
The Hydration Hero
Warm water is essential because it activates the gluten without shocking the dough. Too cold, and the dough won’t develop properly; too hot, and it could cook the eggs prematurely. A good rule of thumb is water at about 110°F (43°C). If you’re short on time, room‑temperature water works fine, but the dough may take a bit longer to rise.
The Protein Power
The single large egg is the secret to that silky, cohesive dough. Egg yolk adds richness, while the white contributes structure. If you’re vegan or allergic, you can substitute with a flaxseed or chia egg; however, the texture will shift slightly, becoming less elastic. For a richer flavor, use a whole egg instead of just the yolk.
The Salt and Sweetness Balance
Salt to taste is a must for flavor, but a pinch of sugar (1/2 tsp) balances the acidity of the tomato sauce and brings out the natural sweetness of the flour. If you prefer a savory profile, you can reduce the sugar to 1/4 tsp, but be prepared for a slightly sharper sauce.
The Olive Oil Glow
A tablespoon of extra‑virgin olive oil not only lubricates the dough but also adds a subtle fruity note that lingers on the palate. The oil helps the pasta achieve that glossy, golden finish when pan‑frying. If you’re looking for a more neutral taste, use a light olive oil or a neutral vegetable oil.
The Optional Baking Soda Lift
A dash of baking soda (1/4 tsp) can help lift the dough, creating pockets of air that make the pasta fluffier. This is optional; if you skip it, the pasta will still be excellent, but the texture will be a bit denser. Keep in mind that baking soda reacts with acidic ingredients, so if you add a lot of tomato sauce later, you might want to adjust the amount.
Everything's prepped? Good. Let's get into the real action…
The Method — Step by Step
- In a large mixing bowl, combine the flour, salt, and sugar. Stir them together so that the dry ingredients are evenly distributed. This step ensures that the salt and sugar don’t clump when you add the liquid, preventing uneven flavor.
- Create a well in the center of the dry mix and crack the egg into it. Add the warm water and a tablespoon of olive oil. Using a fork, slowly whisk the wet ingredients into the dry until a shaggy dough forms. The water should be just enough to bring the dough together without making it sticky.
- Transfer the dough onto a lightly floured surface and knead for about 8–10 minutes, until it becomes smooth and elastic. If the dough feels tacky, sprinkle a little more flour; if it’s too dry, add a teaspoon of water at a time. Kneading develops gluten, which gives the pasta its chewy structure.
- Shape the dough into a flat disk about 1/4 inch thick. Wrap it in plastic wrap and let it rest at room temperature for 30 minutes. Resting relaxes the gluten and makes rolling easier.
- Using a rolling pin, roll the dough out into a rectangle about 12×8 inches. The thickness is crucial—too thin, and the pasta will burn; too thick, and it will be chewy. If the dough cracks, lightly dust it with flour and continue rolling.
- Cut the rectangle into small, bite‑size squares using a sharp knife or pizza cutter. Then, use a fork or a small pasta cutter to create the classic Spaghetti-O shape: press the fork’s tines through each square, making a small cross pattern. This step is the fun part—watch the shapes pop into the air like tiny paper cranes.
- Heat a non‑stick skillet over medium‑high heat and add a tablespoon of olive oil. When the oil shimmers, add the pasta in a single layer. Don’t crowd the pan; if you add too many, the pasta will steam instead of crisp. Cook for 2–3 minutes on each side, or until golden and crisp. The edges will start pulling away, signaling that they’re ready to flip.
- Once the pasta is crisp, remove it from the skillet and let it rest on a paper towel for a minute to drain excess oil. The rest of the time, you can simmer your favorite tomato sauce, letting the flavors mingle. When the sauce is ready, toss the pasta in the sauce, letting it soak up the juices for 30 seconds. Serve hot, garnished with fresh basil or grated Parmesan.
That's it—you did it! But hold on, I've got a few more tricks that'll take this to another level…
Insider Tricks for Flawless Results
The Temperature Rule Nobody Follows
Many people cook pasta over high heat, but the secret is to maintain a steady medium‑high temperature. This allows the exterior to crisp while the interior stays tender. If the heat is too low, the pasta will steam; too high, and it will burn before the inside cooks. Keep an eye on the skillet’s temperature by sprinkling a few drops of water— they should sizzle and evaporate almost instantly.
Why Your Nose Knows Best
Before you flip the pasta, pause and inhale. The aroma should be a warm, buttery scent with hints of toasted flour. If it smells more like raw dough, it needs a few more minutes. Your nose is a reliable guide for the perfect crispness.
The 5‑Minute Rest That Changes Everything
After removing the pasta from the skillet, let it rest on a paper towel for exactly five minutes. This rest allows the steam to escape, preventing the pasta from becoming soggy when tossed with sauce. It also lets the crust firm up, giving you that satisfying crunch with every bite.
The Sauce‑Pasta Ratio
When you toss the pasta in sauce, use a ratio of about 1 cup of sauce per 2 cups of cooked pasta. Too much sauce will drown the pasta, while too little will leave it dry. Stir gently to coat each piece evenly, then let it sit for a minute to absorb the flavors.
The Final Garnish
A sprinkle of fresh basil or a dusting of grated Parmesan can elevate the dish instantly. Basil adds a bright, herbal note that balances the richness, while Parmesan introduces a salty, umami depth that makes the dish feel more complete. Experiment with both and see which one wins your heart.
Creative Twists and Variations
This recipe is a playground. Here are some of my favorite ways to switch things up:
Cheesy Alfredo Version
Swap the tomato sauce for a rich Alfredo sauce made with heavy cream, garlic, and parmesan. The pasta’s crispness contrasts beautifully with the silky sauce, creating a decadent comfort dish.
Spicy Arrabbiata Kick
Add red pepper flakes to the tomato sauce, and finish with a drizzle of chili oil. The heat pairs with the crunchy pasta, giving you a dish that’s both spicy and satisfying.
Herb‑Infused Pesto Delight
Toss the cooked pasta in fresh basil pesto, then top with pine nuts and grated Pecorino. The herbal brightness lifts the dish into a fresh, summery flavor profile.
Mediterranean Mezze
Serve the pasta with a side of tzatziki and a drizzle of lemon‑olive oil. The cool yogurt and citrus cut through the richness, creating a balanced meal.
Vegan Twist
Use a plant‑based milk instead of water and replace the egg with a flaxseed egg. Pair with a tomato‑based sauce and sprinkle with nutritional yeast for a cheesy, dairy‑free option.
Breakfast Boost
Serve the pasta with a sunny‑side‑up egg and a sprinkle of chopped chives. The savory protein makes it a hearty breakfast that feels both indulgent and wholesome.
Storing and Bringing It Back to Life
Fridge Storage
Store the cooked pasta in an airtight container in the refrigerator for up to 3 days. Before reheating, sprinkle a splash of water or a drizzle of olive oil to keep the pasta from drying out.
Freezer Friendly
For longer storage, freeze the pasta in a single layer on a parchment‑lined tray. Once frozen, transfer the pasta to a freezer bag. It will keep for up to 2 months. Reheat in a skillet with a little sauce over medium heat.
Best Reheating Method
The secret to a perfect reheated batch is a quick sauté in a hot pan with a splash of water and a pinch of salt. This technique restores the crispness and keeps the pasta from becoming mushy.