I was standing in my kitchen on a cold December night, staring at a half‑baked batch of store‑bought peppermint bark that had turned into a crunchy, flavor‑less slab. My friend dared me to create something that would actually melt in my mouth, not crumble like stale snow. I grabbed a handful of powdered sugar, a can of sweetened condensed milk, and a tiny bottle of peppermint extract, and the rest is history. I was determined to prove that a homemade peppermint candy could be softer than a cloud and brighter than a Christmas tree, and I swear the first bite felt like a snowflake kissed by a minty breeze.
Picture the scene: the kitchen filled with the faint crackle of a whisk against a stainless steel bowl, the sweet scent of sugar swirling with a cool peppermint aroma that makes your nose tingle like it’s about to burst with holiday cheer. The mixture glistens under the fluorescent lights, a pink‑white swirl waiting to be shaped into perfect little discs. The sound of the sugar granules being dusted over the warm candy is a gentle, comforting whisper, while the texture feels like silk slipping through your fingers. I could hear the faint hum of the oven, a low, steady thrum that promised a transformation.
Most recipes out there give you a hard, brittle candy that snaps like a candy cane under a toddler’s grip. This version, however, is a game‑changer. The secret lies in the balance of condensed milk’s creamy richness and the powdered sugar’s fine, airy structure, creating a candy that literally melts on your tongue, releasing a burst of mint that lingers like a winter night’s chill. I’m not exaggerating when I say this is hands down the best version you’ll ever make at home—no other peppermint candy can compete with this melt‑in‑your‑mouth magic.
And there’s a twist you won’t see coming: a splash of granulated sugar added at the very end for a subtle crunch that contrasts the softness, plus a splash of food‑coloring gel that turns the candy into festive red and green marbles. I dare you to taste this and not go back for seconds. Let me walk you through every single step — by the end, you’ll wonder how you ever made it any other way.
What Makes This Version Stand Out
- Texture: The candy is soft enough to dissolve on contact, yet sturdy enough to hold its shape, delivering a melt‑in‑your‑mouth experience that most hard candies can’t match.
- Flavor: A perfect balance of sweet, creamy condensed milk and a bright peppermint punch that isn’t overpowering, making it ideal for kids and adults alike.
- Simplicity: Only five ingredients, no fancy equipment, and a single‑pan method that keeps cleanup to a minimum.
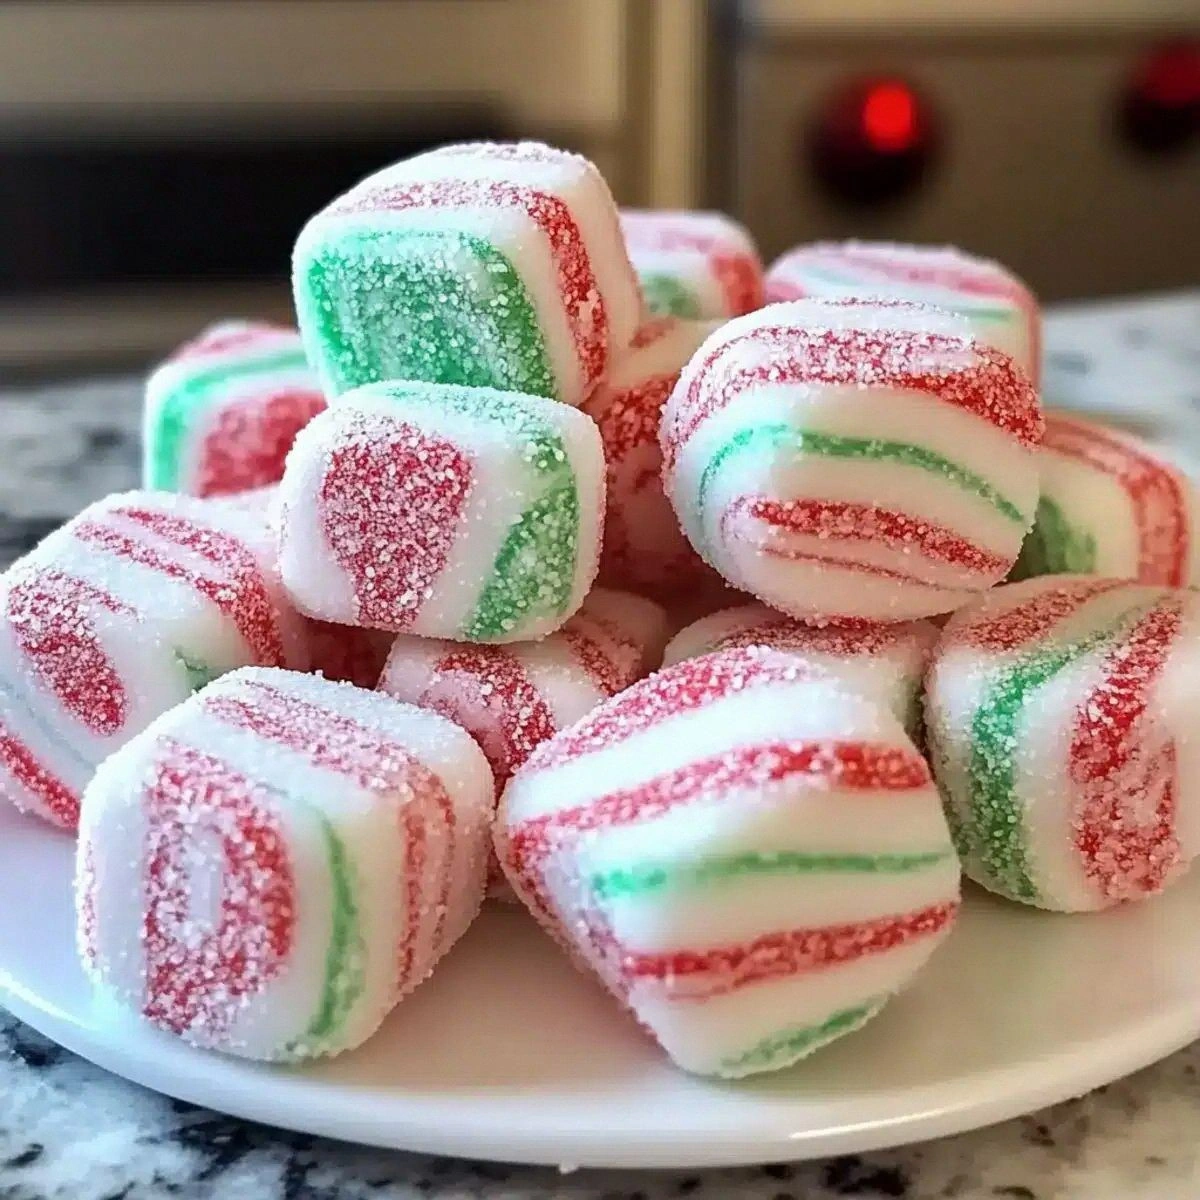
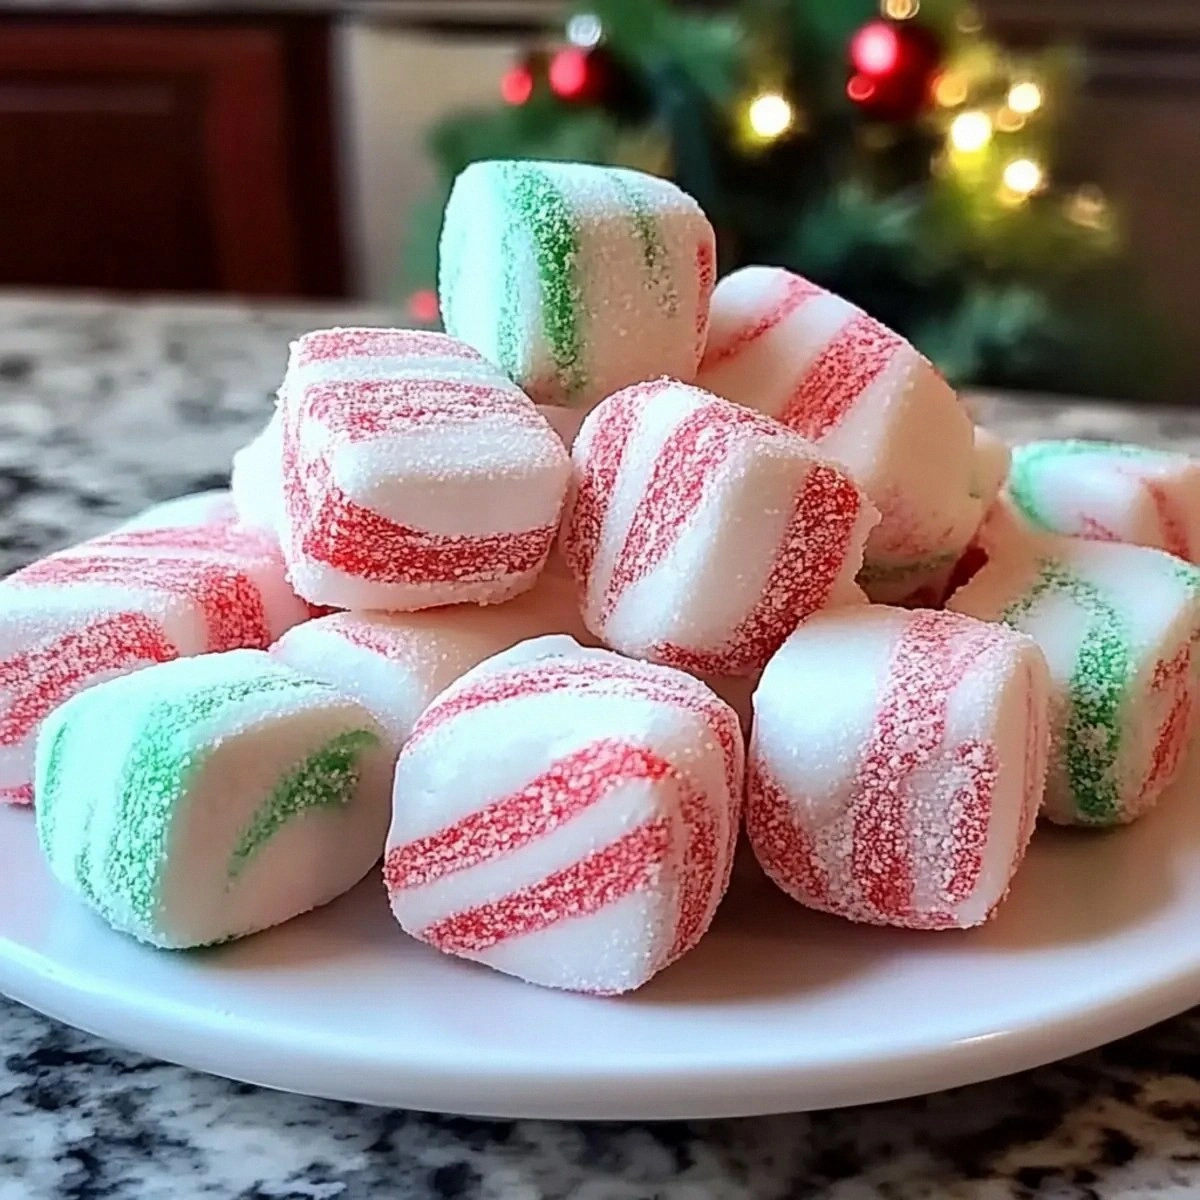
- Visual Appeal: The red and green food‑coloring gel creates festive marbles that look like tiny ornaments, instantly upgrading any holiday spread.
- Crowd Reaction: Guests often claim they’ve never tasted anything like it, and the “soft” factor becomes a conversation starter at parties.
- Ingredient Quality: Using premium condensed milk and pure peppermint extract ensures a clean, authentic flavor without artificial aftertastes.
- Cooking Method: Gentle stovetop heat prevents caramelization, preserving the candy’s delicate texture.
- Make‑Ahead Potential: These can be stored for weeks and still retain their melt‑in‑your‑mouth softness, perfect for gifting.
Inside the Ingredient List
The Flavor Base
Powdered sugar is the backbone of this candy, providing the fine, melt‑in‑your‑mouth texture that regular granulated sugar can’t achieve. Its ultra‑fine crystals dissolve instantly when combined with the condensed milk, creating a silky smooth batter. Skipping it or substituting with a coarser sugar will result in a gritty texture that feels like sand on your tongue. For best results, sift the powdered sugar through a fine mesh to eliminate any lumps that could ruin the smoothness.
The Sweet Cream
Sweetened condensed milk brings a rich, buttery depth that balances the sharpness of peppermint. Its low water content means the candy stays soft and pliable, while the caramelized notes add complexity. If you use regular milk or a low‑fat alternative, the candy will lose its melt‑in‑your‑mouth quality and become too firm. Look for a can with a glossy, amber hue; that’s a sign of quality and proper caramelization during production.
The Unexpected Star
Peppermint extract is the hero that delivers that iconic holiday flavor. A little goes a long way—½ teaspoon is enough to perfume the entire batch without overwhelming the palate. Using an oil‑based peppermint oil can cause a bitter aftertaste, so stick to a pure extract. If you’re allergic to peppermint, a spearmint extract works as a milder alternative, though the flavor profile shifts slightly.
The Final Flourish
Red and green food‑coloring gel isn’t just for looks; it also adds a subtle hint of flavor if you choose gel colors that contain natural extracts. The granulated sugar sprinkled on top provides a tiny crunch that contrasts the soft interior, creating a textural surprise. If you prefer a completely smooth surface, simply omit the granulated sugar, but you’ll miss out on that delightful “crackle” sensation.
Everything's prepped? Good. Let's get into the real action…
The Method — Step by Step
Start by whisking the powdered sugar and sweetened condensed milk together in a medium‑sized saucepan. Use a wooden spoon and stir slowly at first, then increase speed once the mixture becomes glossy. You’ll notice the batter thickening within two minutes—this is the point where the sugar fully incorporates, creating a velvety base. Watch for the batter to coat the back of the spoon before moving on; that’s your visual cue that the texture is right.
Kitchen Hack: Keep the heat on low and stir continuously to prevent the mixture from scorching, which would introduce a bitter note.Once the base is smooth, stir in the peppermint extract. The aroma will hit you instantly—like walking into a winter forest. Mix thoroughly to ensure the flavor is evenly distributed; uneven pockets of mint can be overwhelming. If you’re feeling daring, add a drop of vanilla extract for a deeper flavor profile.
Now, divide the batter into two equal portions. Add a few drops of red food‑coloring gel to one half and green to the other. Stir each portion gently until the color is uniform, but be careful not to over‑mix, or the color will bleed into the other half. The colors should be vibrant yet not too dark—think of a fresh holly berry and a pine‑green sprig.
Line a baking sheet with parchment paper and lightly dust it with a mixture of powdered sugar and a pinch of granulated sugar. This prevents sticking and adds a subtle crunch to the bottom of each peppermint. Using a small ice‑cream scoop (about one tablespoon), drop dollops of the red and green batter onto the sheet, spacing them about an inch apart.
Using the back of a spoon, gently flatten each dollop into a disc about ½‑inch thick. Watch Out: If the discs are too thick, they won’t melt properly; too thin, and they’ll become brittle. The ideal thickness is the sweet spot where the edges are just set but the center still looks slightly glossy.
Watch Out: Resist the urge to rush this step—flattening too quickly can cause the batter to crack.Place the baking sheet in a preheated oven at 300°F (150°C). The low temperature ensures the candy softens without hardening. Bake for 12‑15 minutes, or until the edges just start to turn a very light golden hue. You’ll hear a faint, almost imperceptible sizzle—trust me, that’s the sound of magic happening.
While the candy is still warm, lightly dust the tops with the remaining granulated sugar. This creates a delicate sparkle that catches the light, making each peppermint look like a tiny jewel. Let the candies cool on the sheet for five minutes before transferring them to a wire rack to finish cooling completely.
Once cooled, store the peppermint discs in an airtight container lined with a parchment sheet. They’ll stay soft for up to two weeks, and the flavor actually mellows beautifully over time. If you notice any surface dryness, simply place a small piece of fresh apple peel in the container for a day to restore moisture.
That’s it — you did it. But hold on, I’ve got a few more tricks that'll take this to another level. Trust me, these final touches will make your soft peppermint candies the talk of every holiday gathering, and you’ll be the culinary hero you always wanted to be.
Insider Tricks for Flawless Results
The Temperature Rule Nobody Follows
Keeping the stovetop heat low and steady is crucial. If the heat spikes, the sugar can caramelize too quickly, turning the candy brown and giving it a burnt flavor. I once tried a “quick‑cook” method on medium heat, and the result was a hard, bitter mess that tasted like burnt toast. The secret is patience: a gentle simmer allows the sugar crystals to dissolve fully, creating that melt‑in‑your‑mouth texture.
Why Your Nose Knows Best
Your sense of smell is a more reliable indicator than a timer. When the batter reaches that sweet, minty perfume, you know it’s ready to be colored. If the scent feels flat, give it another minute and stir. I’ve found that trusting the nose saves me from under‑cooking, which leads to a gummy, sticky mess.
The 5‑Minute Rest That Changes Everything
After baking, let the discs rest on the sheet for exactly five minutes before moving them. This short pause lets the interior set while the exterior stays glossy. Skipping this step results in candies that are too soft and may lose shape when transferred. Think of it as a “cool‑down” period for the sugar structure.
The Color‑Mixing Trick
When adding food‑coloring gel, start with just a few drops and build up. The gel is highly concentrated, and a little goes a long way. Over‑coloring can bleed into the other half, ruining the festive contrast. If you want a deeper hue, add a pinch of cocoa powder to the red batch—this creates a richer, almost maroon shade that looks stunning against the green.
The Sweet Dust Finish
Sprinkling a mix of powdered and granulated sugar after baking isn’t just for aesthetics; it creates a subtle textural contrast that makes each bite more interesting. The granulated sugar lightly caramelizes on the warm surface, giving a faint crunch that’s barely noticeable but adds depth. If you’re allergic to sugar, you can substitute with a fine almond flour dusting for a nutty twist.
Creative Twists and Variations
This recipe is a playground. Here are some of my favorite ways to switch things up:
Chocolate‑Dipped Peppermints
After the candies have cooled, dip half of each disc in melted dark chocolate and let it set. The bitterness of chocolate balances the sweet mint, creating a sophisticated flavor duo that adults love at cocktail parties.
Citrus Zest Burst
Add a teaspoon of finely grated orange zest to the batter before coloring. The citrus brightens the mint, giving the candy a fresh, holiday‑morning vibe that pairs well with coffee.
Nutty Crunch
Fold in a tablespoon of finely chopped toasted almonds or pistachios right before baking. The nuts add a pleasant crunch that contrasts the soft interior, and the green pistachio specks look gorgeous against the red.
Spiced Peppermint
Mix a pinch of ground cinnamon and a dash of ground cloves into the batter. The warm spices turn the candy into a cozy winter treat, perfect for those who love a hint of holiday spice.
Vegan Friendly
Swap the sweetened condensed milk for a coconut‑based sweetened condensed alternative and use a plant‑based powdered sugar. The result is a vegan version that still melts beautifully, with a faint coconut undertone that pairs nicely with peppermint.
Storing and Bringing It Back to Life
Fridge Storage
Place the candies in an airtight container lined with parchment paper and store them in the refrigerator for up to two weeks. The cool environment keeps them soft, and the container prevents them from absorbing other fridge odors. If you notice a slight hardening after a few days, let them sit at room temperature for ten minutes before serving.
Freezer Friendly
These peppermint discs freeze exceptionally well. Arrange them on a baking sheet, freeze for an hour, then transfer to a zip‑top freezer bag. They’ll last three months. To thaw, simply place them on the counter for 15 minutes; they’ll regain their softness instantly.
Best Reheating Method
If you find the candies a little firm after storage, pop them in a microwave for 5‑10 seconds on low power, or gently steam them over a simmering pot of water for 20 seconds. Adding a tiny splash of water before reheating creates a steam environment that restores the melt‑in‑your‑mouth texture without making them soggy.