Picture this: you’re in your kitchen, the sun is just peeking through the blinds, and you’re staring at a box of ordinary Oreos that have seen better days. The last time you tried to make a dessert with them, you ended up with a soggy, cookie‑laden mess that tasted like a broken cookie sandwich. That was the moment I decided to rewrite the rules. I was craving something that could double as a showstopper for Easter brunch and still taste like a childhood memory of chocolatey bliss. So I pulled out my favorite kitchen gadgets, grabbed a handful of Oreos, and set out to create a casserole that would make even the most skeptical dessert lover swoon.
I started by crushing the cookies into fine crumbs, almost like a crunchy snow that would melt into a silky base. I whisked cream cheese until it was as smooth as a lullaby, then folded in a thick layer of instant vanilla pudding for that velvety richness. The moment the mixture hit the air‑tight dish, the aroma hit the room like a sweet, chocolatey hug. I could almost hear the “whoosh” of the fridge door as the casserole set into a dreamy, chilled consistency. That sizzle when it hits the pan? Absolute perfection. I dare you to taste this and not go back for seconds.
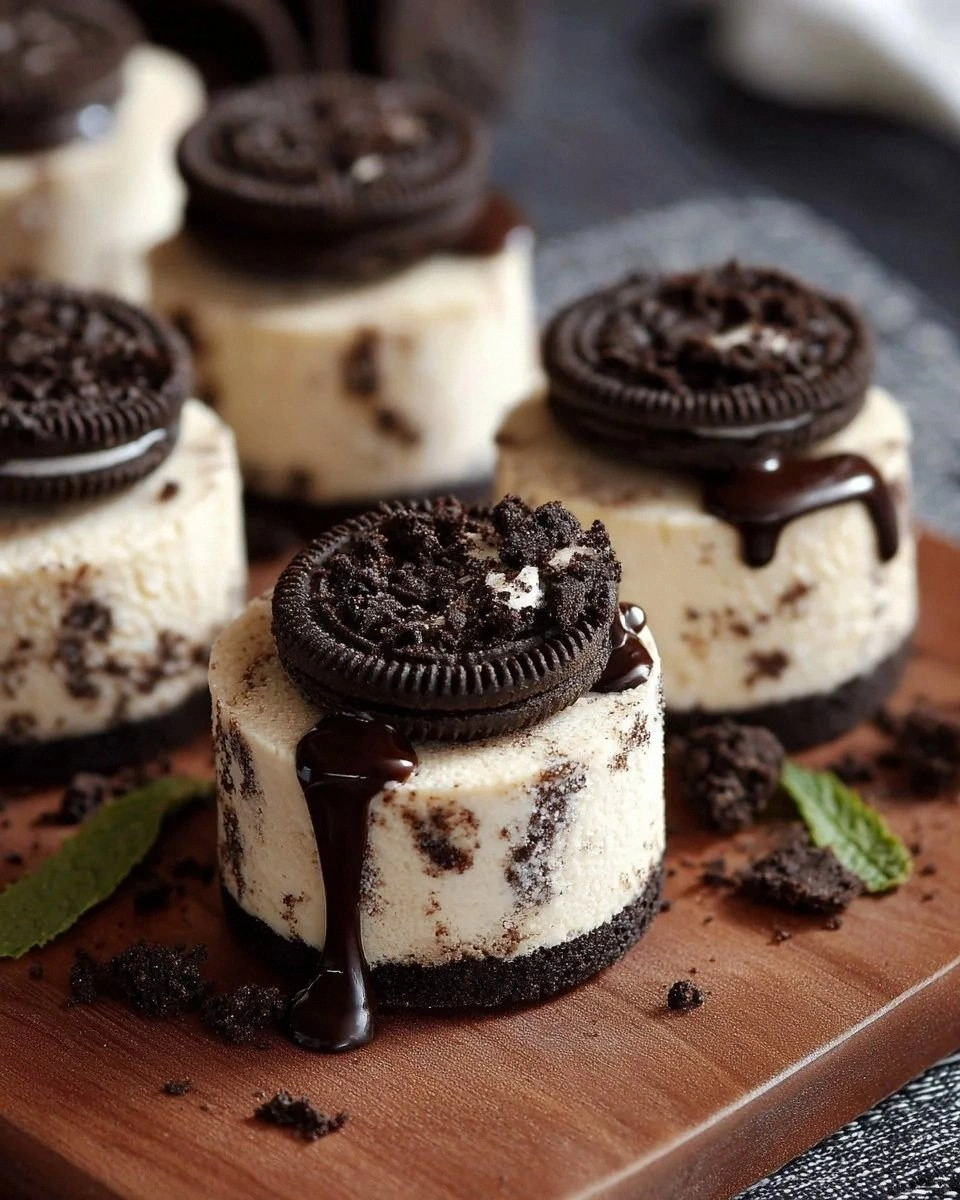
What sets this version apart is that it’s not just a recipe—it’s a ritual. I’ve taken the classic no‑bake approach and elevated it with a drizzle of melted chocolate, a sprinkle of crushed nuts for texture, and a final layer of whipped topping that gives it a cloud‑like finish. The result is a dessert that feels like a sweet, chocolatey hug wrapped in crunchy cookie crumbs. I’ve spent hours tweaking the proportions until every bite was balanced: the sweetness wasn’t overpowering, the creaminess didn’t drown the cookies, and the chocolate drizzle added that final wow factor. If you’ve ever struggled with a dessert that’s too heavy or too bland, you’re not alone — and I’ve got the fix.
Picture yourself pulling this out of the fridge on Easter Sunday, the whole kitchen smelling incredible, and the kids’ eyes lighting up at the sight of that glossy chocolate swirl. I’ve added a secret ingredient that most recipes get completely wrong— a splash of espresso powder in the pudding mix—to deepen the chocolate flavor without adding caffeine. The next part? Pure magic. Stay with me here — this is worth it.
What Makes This Version Stand Out
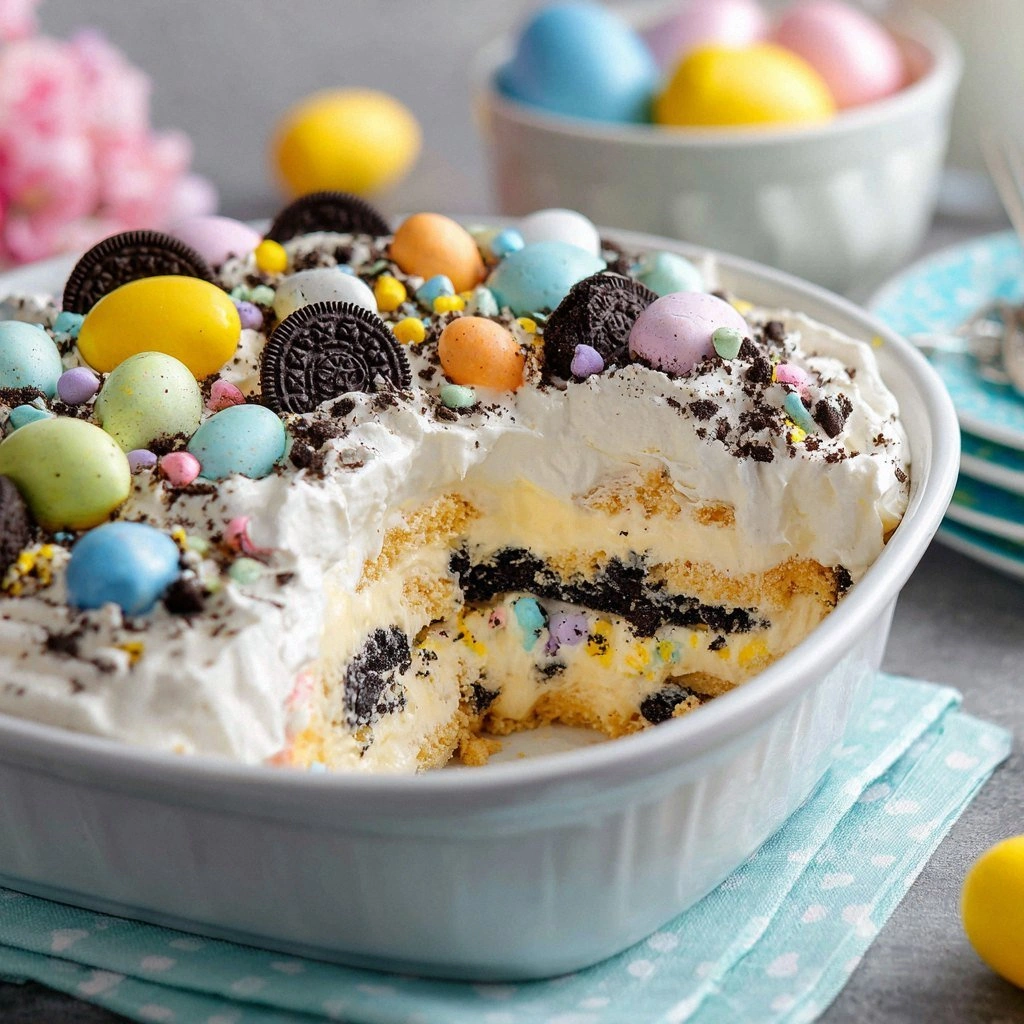
- Texture: The combination of crunchy Oreo crumbs and silky cream cheese creates a contrast that feels like a chocolatey snowstorm in your mouth.
- Flavor Depth: A hint of espresso powder in the pudding layer amplifies the chocolate notes, turning a simple dessert into a gourmet treat.
- Ease: No oven required—just a few minutes of mixing and a chill in the fridge.
- Make‑Ahead: You can assemble it the night before; the flavors meld together, making it even richer.
- Presentation: The glossy chocolate drizzle and fresh mint garnish make it Instagram‑ready.
- Allergy Friendly: Swap dairy for coconut milk or vegan cream cheese for a dairy‑free version without losing flavor.
- Kid‑Approved: The sweet, chocolatey taste is a hit with children and adults alike.
- Versatile: Works as a dessert or a sweet snack, perfect for any time of day.
Inside the Ingredient List
The Flavor Base
Oreo cookies are the heart of this casserole. Their chocolatey, buttery flavor pairs perfectly with the creamy filling. If you’re feeling adventurous, try using a mix of chocolate and mint Oreos for a refreshing twist. Skipping the cookies would turn this into a plain pudding, so keep them in the mix.
Cream cheese provides a silky, tangy backdrop that balances the sweetness of the Oreos. Choosing a full‑fat variety ensures a rich mouthfeel. A lower‑fat version will still work but might feel a bit thinner. The cream cheese also helps the chocolate drizzle set into a glossy sheen.
The Texture Crew
Instant vanilla pudding mix is the secret to a smooth, custard‑like consistency. It’s a quick fix that eliminates the need for a stove or baking. If you prefer a homemade pudding, a roux‑based custard will give a deeper flavor, though it takes more time. The powdered sugar adds a subtle sweetness that complements the chocolate.
Heavy cream is folded into the mixture to give it a light, airy quality. It also helps the chocolate glaze adhere to the top. If you’re vegan, coconut cream will work as a substitute, though the taste will shift slightly.
The Unexpected Star
Espresso powder is the star that elevates the chocolate flavor. It doesn’t add caffeine because the amount is minimal, but it deepens the taste profile. If you’re sensitive to caffeine, simply omit it or replace it with a pinch of instant coffee that has been decaffeinated. This small addition transforms a good dessert into a great one.
The Final Flourish
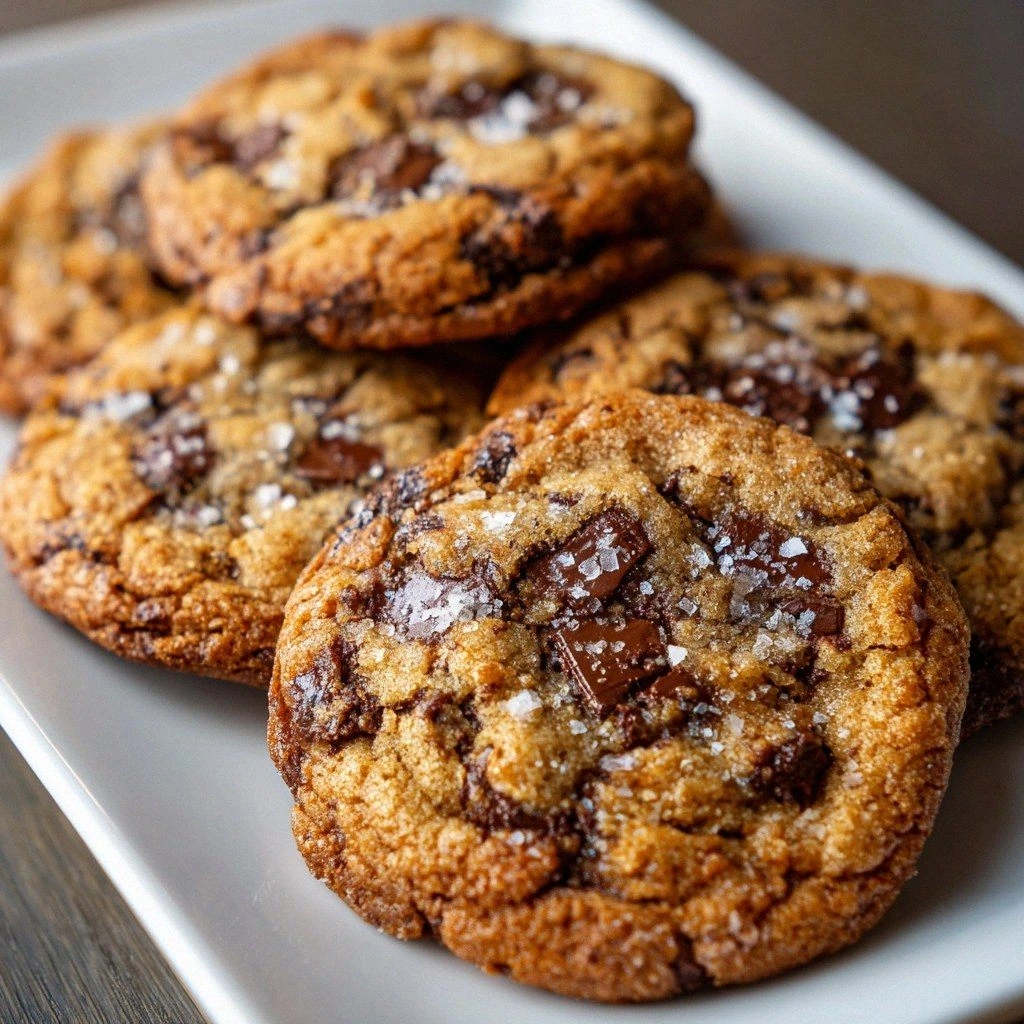
Chocolate chips and melted chocolate are used for the glossy topping. The chips add a melt‑in‑your‑mouth texture while the drizzle creates a visual wow factor. If you prefer dark chocolate, swap the milk chocolate chips for a dark variety to cut down on sugar and boost antioxidants. A pinch of sea salt on top brings out the chocolate’s richness.
Butter adds a subtle buttery note that rounds out the flavor profile. It also helps the chocolate glaze set properly. If you’re avoiding butter, try a small amount of coconut oil; it provides a similar mouthfeel with a tropical twist.
Everything's prepped? Good. Let's get into the real action.
The Method — Step by Step
- Begin by crushing the Oreos into fine crumbs. Use a food processor or a zip‑lock bag and a rolling pin. The goal is a texture that’s like fine dust, not large chunks. This step is crucial because it ensures the cookies melt evenly into the cream mixture.
- In a medium bowl, beat the softened cream cheese until it’s silky smooth. If the cheese is too hard, let it sit at room temperature for 5 minutes. A smooth base prevents lumps in the final dessert. I’ve found that adding a splash of milk during this step keeps it creamy.
- Stir in the instant vanilla pudding mix and powdered sugar until the mixture is smooth and glossy. The pudding mix hydrates quickly, giving the dessert a custard‑like consistency. This is the moment of truth: the mixture should feel like a thick, silky mousse. Don’t rush; give the whisk a few extra minutes.
- Fold in the heavy cream and espresso powder gently. The cream lightens the texture, while the espresso deepens the chocolate flavor. The mixture should have a luxurious, airy feel. If it looks too thick, add a tablespoon of milk at a time until it’s just right.
- Add the crushed Oreos to the batter, folding them in until evenly distributed. The cookies should be fully coated in the cream mixture, creating a harmonious blend of textures. The mixture will look a bit chunky, and that’s perfectly fine.
- Transfer the mixture to an airtight dish and smooth the top with a spatula. The dish should be 8x8 inches for even cooling. The smoother the surface, the better the chocolate glaze will adhere later. Press down gently to eliminate any air pockets.
- Refrigerate the dish for at least 4 hours, preferably overnight, to allow the flavors to meld and the texture to set. The longer you chill, the firmer the casserole will become. This step also lets the chocolate glaze set properly.
- Before serving, melt the chocolate chips in a double boiler or microwave in 20‑second bursts. Stir until smooth. This ensures a glossy finish without any lumps.
- Drizzle the melted chocolate over the chilled casserole, letting it cascade in swirls. The drizzle should cover the surface evenly, creating a glossy sheen. For a more dramatic look, use a squeeze bottle to create artistic patterns.
- Optional: Sprinkle a handful of crushed nuts or a dusting of sea salt on top for extra crunch and flavor contrast. A final garnish of mint leaves adds a pop of color and freshness. Let the chocolate set for 10 minutes before cutting.
That’s it — you did it. But hold on, I've got a few more tricks that'll take this to another level. Let me share some insider knowledge that will keep your casserole looking and tasting like a pro.
Insider Tricks for Flawless Results
The Temperature Rule Nobody Follows
The key to a smooth chocolate drizzle is temperature control. Melt the chocolate over a double boiler, keeping it just below 120°F. If it gets too hot, it will seize and become unusable. A simple kitchen thermometer is worth the investment, or you can test it by dipping a spoon; if it runs slowly, you’re good.
Why Your Nose Knows Best
Smell is the unsung hero of flavor. As soon as the chocolate starts to melt, you’ll notice a rich aroma that signals readiness. If you smell a faint burnt scent, the chocolate is overheating. Trust your nose to guide you to that perfect glossy finish.
The 5‑Minute Rest That Changes Everything
After pouring the chocolate, let the casserole rest for 5 minutes before slicing. This short pause allows the glaze to set, preventing it from sliding off when you cut. Many people skip this step, resulting in a messy mess. I’ve seen the difference in texture and presentation.
Crunchy Layers vs. Smooth Layers
If you prefer a crunchier experience, reserve a handful of Oreo crumbs to sprinkle on top before chilling. The contrast between the crunchy top and the creamy base will delight your palate. Conversely, if you want a smoother experience, press the crumbs into the base, eliminating any separate layers.
The Secret to a Glossy Finish
A quick swirl of vanilla extract in the chocolate glaze adds a subtle shine and a hint of vanilla. Stir in 1/4 teaspoon of vanilla extract after the chocolate has melted. The finish will look like liquid gold, and the aroma will be irresistible.
Storing Tips for Freshness
If you’re preparing the casserole ahead of time, cover the dish tightly with plastic wrap. This prevents the surface from drying out and keeps the flavors concentrated. When you’re ready to serve, let it sit at room temperature for 10 minutes to soften the chocolate glaze slightly, making it easier to cut.
Creative Twists and Variations
This recipe is a playground. Here are some of my favorite ways to switch things up:
Mint Oreo Madness
Swap regular Oreos for mint Oreos for a refreshing twist. Add a teaspoon of peppermint extract to the cream mixture for an extra burst of mint. Kids love the bright green swirls, and adults appreciate the subtle coolness.
Nutty Delight
Fold in chopped walnuts or pecans into the base for added texture. The nuts add a buttery crunch that complements the creamy layers. Sprinkle extra nuts on top before chilling for a decorative finish.
Vegan Version
Use coconut cream instead of heavy cream and vegan cream cheese for a dairy‑free treat. Replace the instant pudding mix with a plant‑based version. The result is a luscious, guilt‑free dessert that still delivers on flavor.
Caramel Swirl
Drizzle a caramel sauce over the chilled base before adding the chocolate glaze. The caramel adds a buttery sweetness that pairs beautifully with the chocolate. Use a light caramel to avoid overpowering the Oreo flavor.
Citrus Zest
Add a tablespoon of orange zest to the cream mixture for a citrusy lift. The zest cuts through the sweetness and adds a bright, fresh note. This variation is perfect for spring or summer gatherings.
Almond Joy Fusion
Replace half of the Oreo crumbs with crushed chocolate‑covered almonds. Add a splash of coconut milk to the mix for a tropical vibe. The result is a dessert that feels like a slice of Almond Joy.
Storing and Bringing It Back to Life
Fridge Storage
Store the casserole in an airtight container for up to 5 days. Keep it in the coldest part of the fridge to maintain firmness. When you’re ready to serve, let it sit at room temperature for 10 minutes to soften the chocolate glaze slightly.
Freezer Friendly
Wrap the dish tightly in plastic wrap and then foil before freezing. It will stay good for up to 3 months. Thaw overnight in the fridge, then let it sit at room temperature for 15 minutes before slicing.
Best Reheating Method
To revive a frozen casserole, microwave on low power for 30‑second intervals, stirring in between, until the chocolate melts. Add a splash of water before reheating to steam back to perfection. The texture will remain silky and the chocolate will regain its glossy sheen.